Table of Contents
Do you want to learn more about Travel Photography and take better photos?
Travel photography exists ever since photography gear became portable. What else encourages us to keep permanent records but those unique, fleeting moments that we witness on the road, in faraway destinations, away from home and from all that’s familiar?
There is no doubt that our memory is no longer enough to save the images our eyes capture when traveling. In addition to that, we have a natural urge to share memories. We want to show them to our friends and family, or the whole world. Spread the word about what we saw, keep it as a safekeeping for later, share on social media. Uncover the exact photo location of your travel snapshots with this intuitive service designed for avid explorers.
Photographing and traveling are practically inseparable and most people don’t ignore this connection.
- But how many people research to learn travel photography?
- What is the best photo gear for each person?
- How do you improve your photography skills?
- How do you keep those precious images safe?
- How to start earning money with your images?
These are just some of the questions I’ll try to answer in this article about how to learn photography.
Introduction to Travel Photography
Learn Travel Photography
The first thing we need to learn about photography is that light is its raw material. The same way a sculptor carves their work on a block of stone, a painter uses paint to express himself, and a writer puts pen to paper to create his ideas, professional travel photographers work with light. Not just the professional ones, we all do — amateurs, beginners, with a cheap or an expensive camera, or even the simplest of smartphones.
Of course, there is still a world out there without light, but we can’t see it. To the naked eye, the world doesn’t exist without light. Of course, a sculptor can work without light. All he needs is his touch. A writer and a painter can also work without light. But a photographer can never photograph if there isn’t light.
And, by the way, did you know the word photo comes from the Greek word phôs, phōtós that means light in English?
To capture a picture of the world with a camera just as our eyes see it, you need light. That light travels through the lens, that shapes it, and reaches the sensor, that records it. Or better, it records the way the environment around us reflects light.
The way the light is processed has an impact on the result. And we’re going to discuss that in a while. But, for now, there’s something else we need to know about photography and that it is an art form. As such, it’s also a part vocation and part technique.
There is no such thing as one part being more important than the other. They’re all crucial. Having “an eye” to get the best shot, that instinct of the image hunter, paying attention to something most people wouldn’t notice.
All of this can be trained, but photographing is mainly a calling.
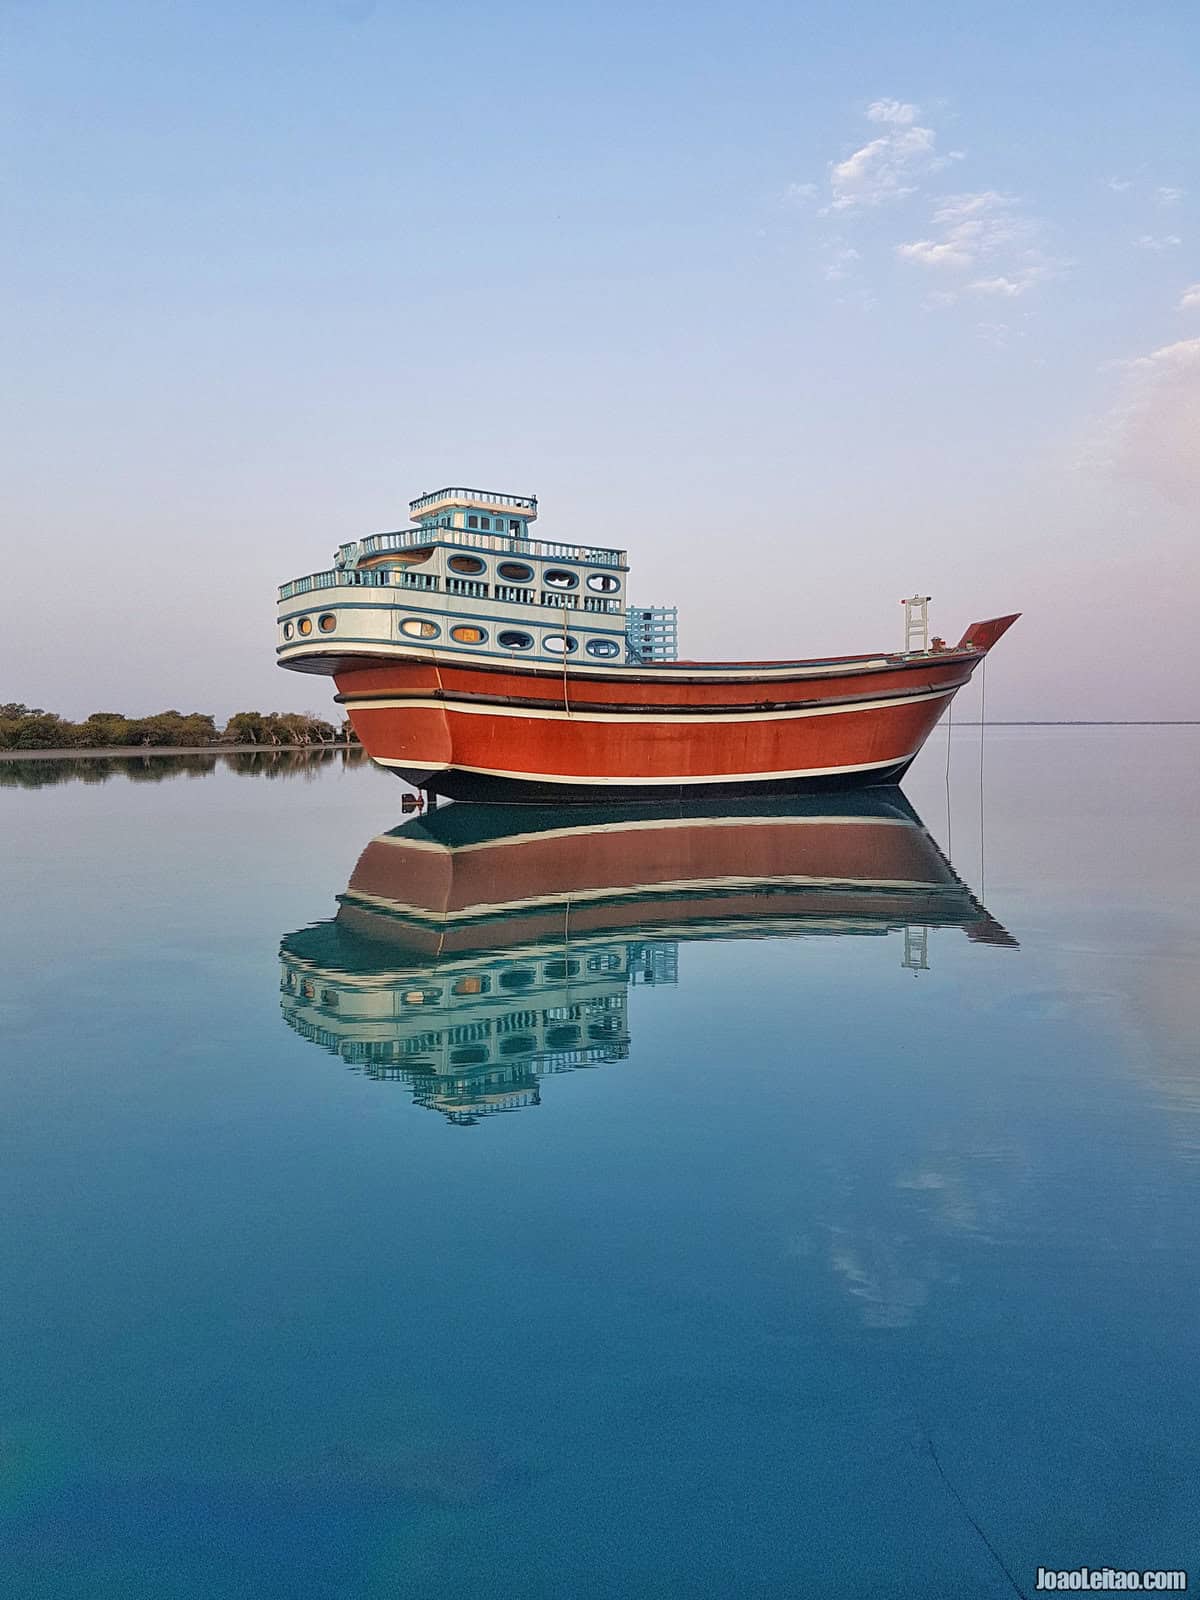
Then there’s learning technique, composition, best use of light, editing software to improve the photos. That’s the kind of knowledge a course or reading a book on the topic can give you.
But there’s more.
The camera’s features are as important as knowing how to use them. And, as I’ll point out again later, following the work of photographers we admire, that portray the world as we would like to, is essential to perfect our technique, to understand what works, to define ourselves as photographers better, and to understand better how we want to capture our travels. Pick up your camera bag and let’s go!
Beginner’s Guide for Travel Photography
Let’s start with our travel great photography tips for beginners.
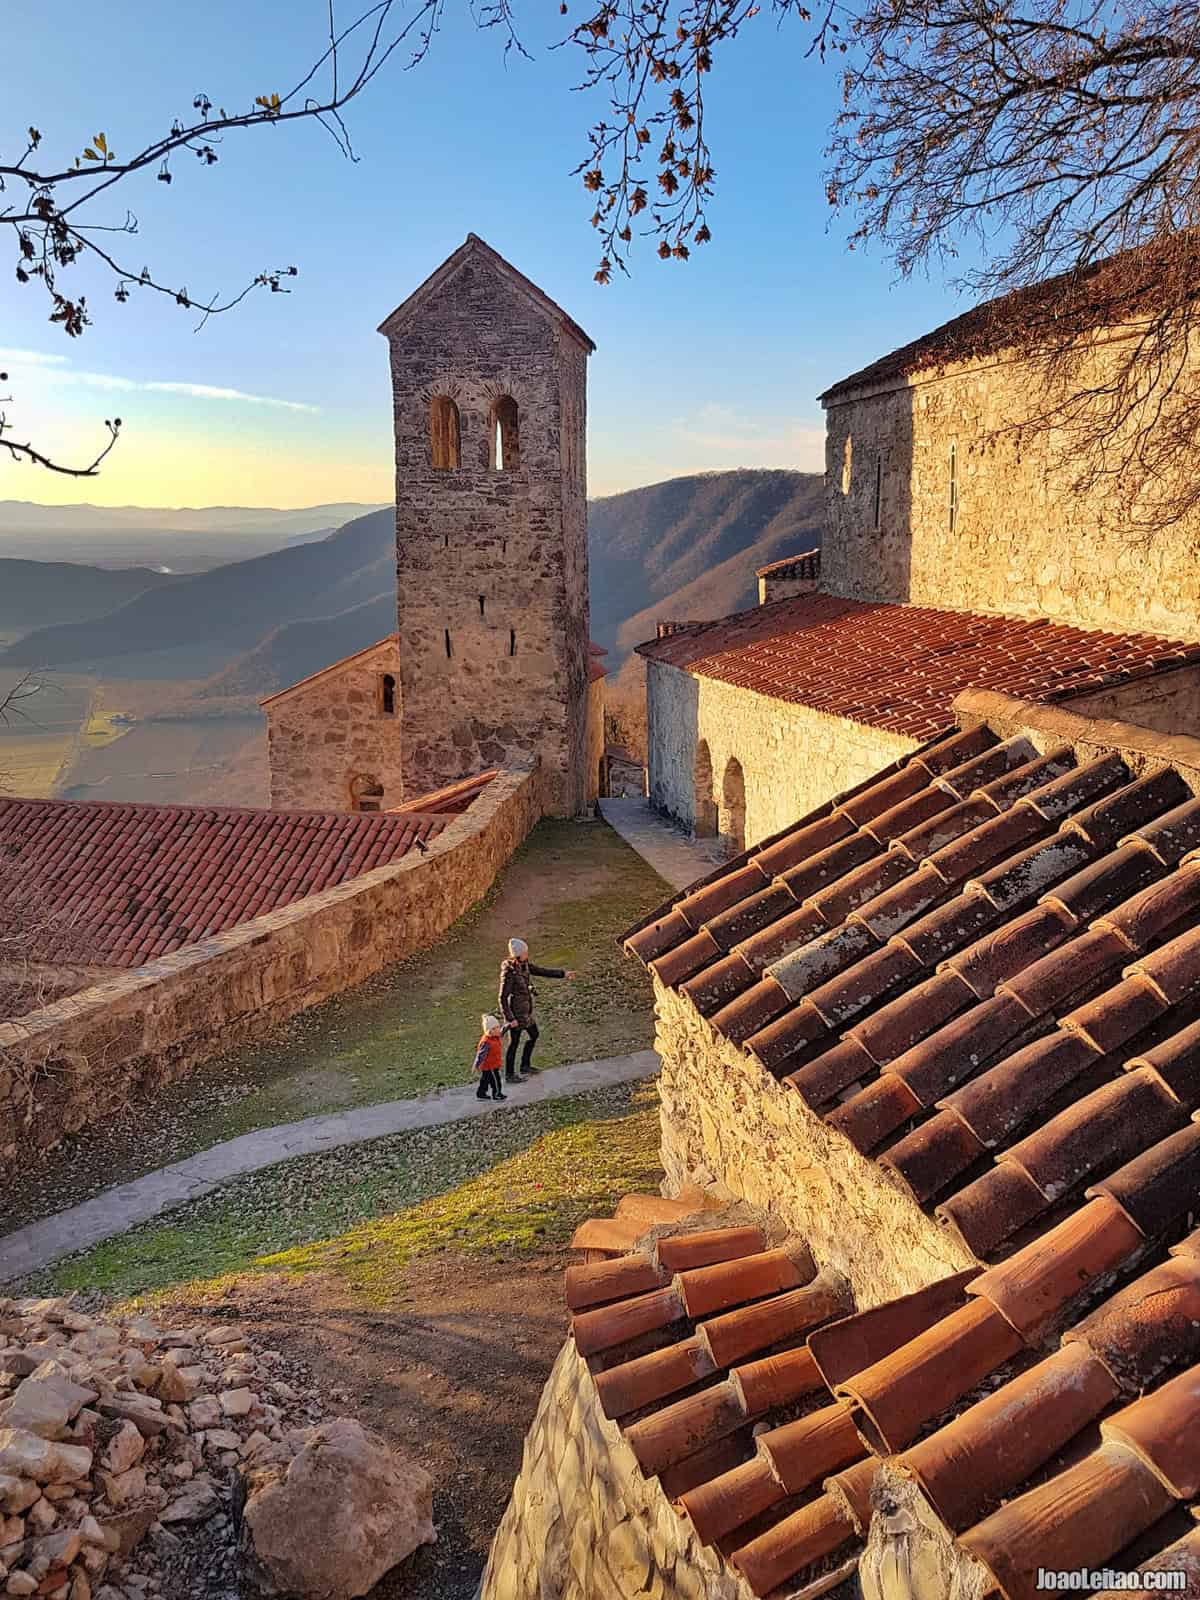
ISO, Shutter Speed, and Lens Aperture
ISO
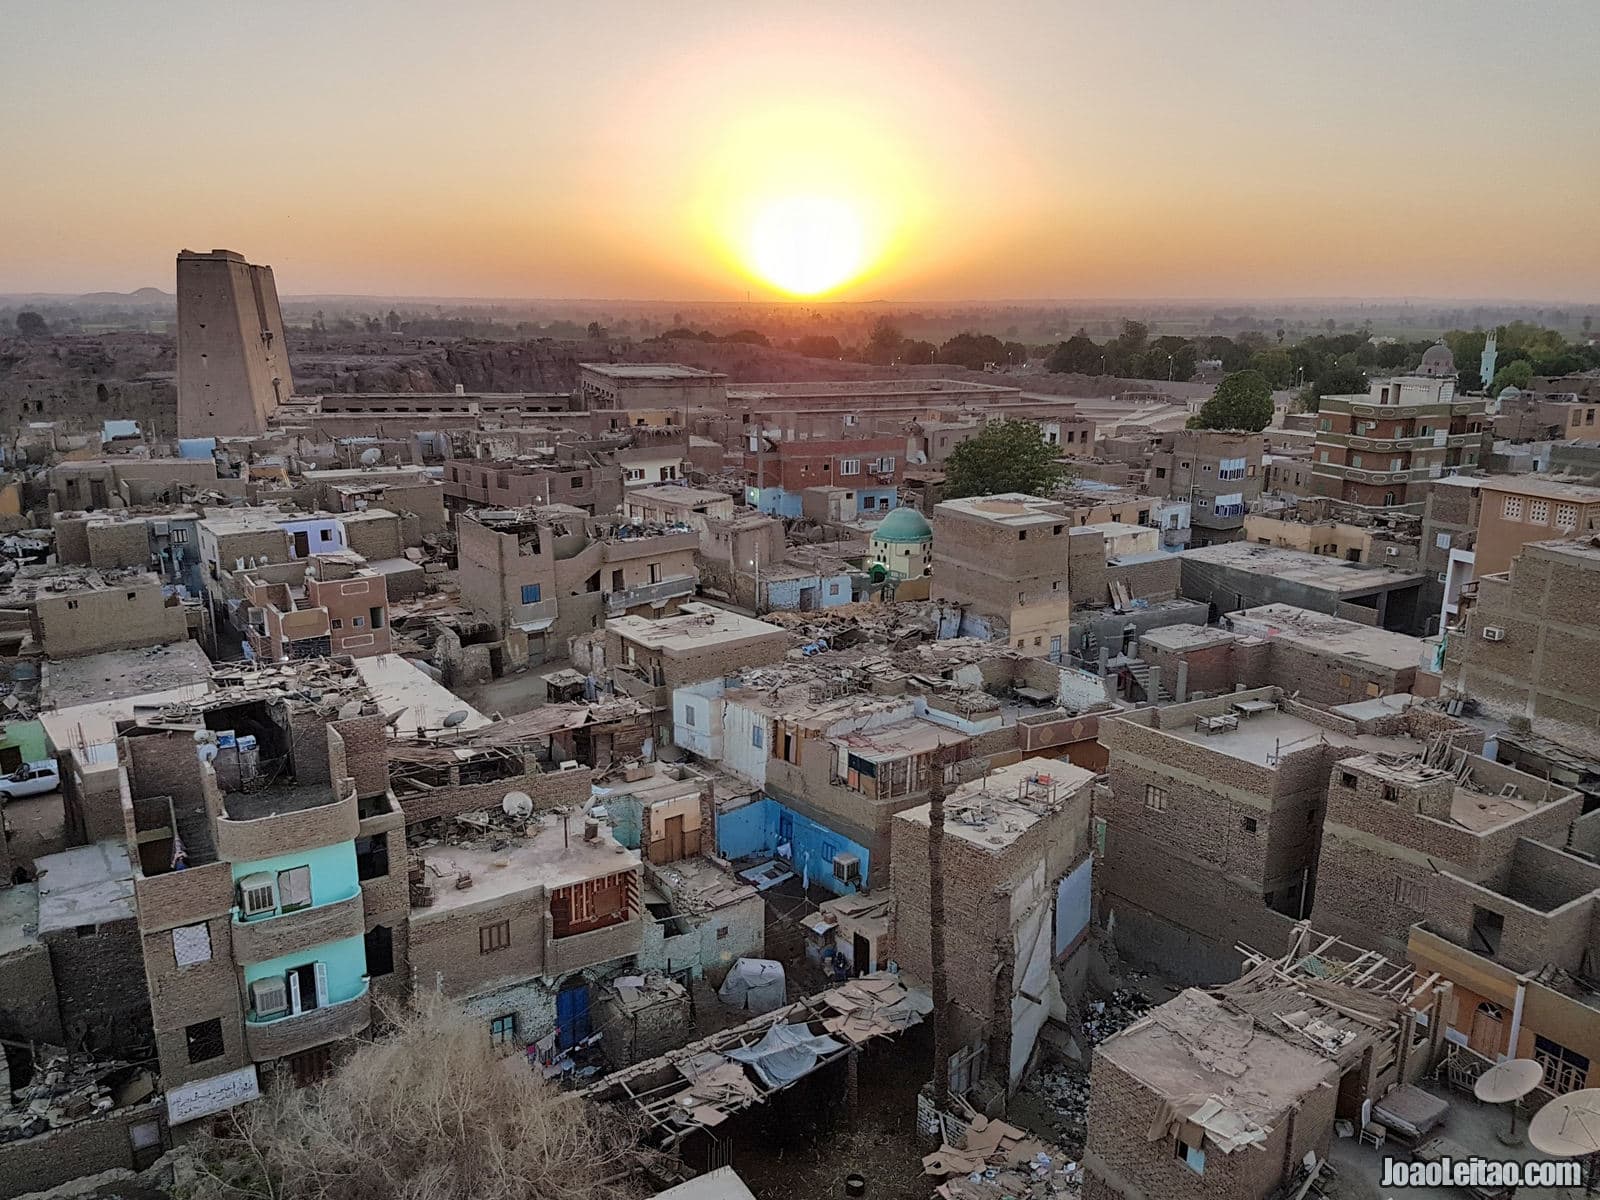
Do you remember how we used film before digital photography? It was a rolled-up sheet that felt like plastic, rich in silver grain. What? Silver grain?
Yes, it’s true. And why?
Because the silver grain used in the film has an interesting feature: when exposed to light it changes and it’s marked. That’s how you record the world that sheet has “seen” in a split second.
So, what does that have to do with ISO?
Well, in the so-called analog photography, where we use film, the thicker the silver grain used, the less light it needs to change. When a photographer knew beforehand that he’d be working in environments with less light or that he’d need to manipulate the light before it reached the film, he’d pick a film with larger silver grains.
And why didn’t he do this all the time?
Because the bigger those grains were, well, the grainier the final photo would be.
ISO, or ASA, was the name given to the unit of measurement of that grain caliber. The second name is no longer used, but the first one made its way into digital photography.
We don’t use film anymore, but the camera’s sensors have kind of the same behavior: the more light you have, the better you can record the image the camera was exposed to in that fraction of time, using less digital manipulation. Similar to the grain in old photography.
The higher the ISO, the less light you need, but it decreases the quality of the image. And, in reverse, the lower the ISO, the more light you need, and you’ll have a less grainy picture.
These days, the photographer chooses the ISO he’s going to shoot with. In the old days, we’d use a 400 ISO film, for example, and had to use all of it. In many cases, we’d carry more than one camera so we could use films with different ISO at the same time. Nowadays, all you have to do is select that option in your camera.
Shutter speed
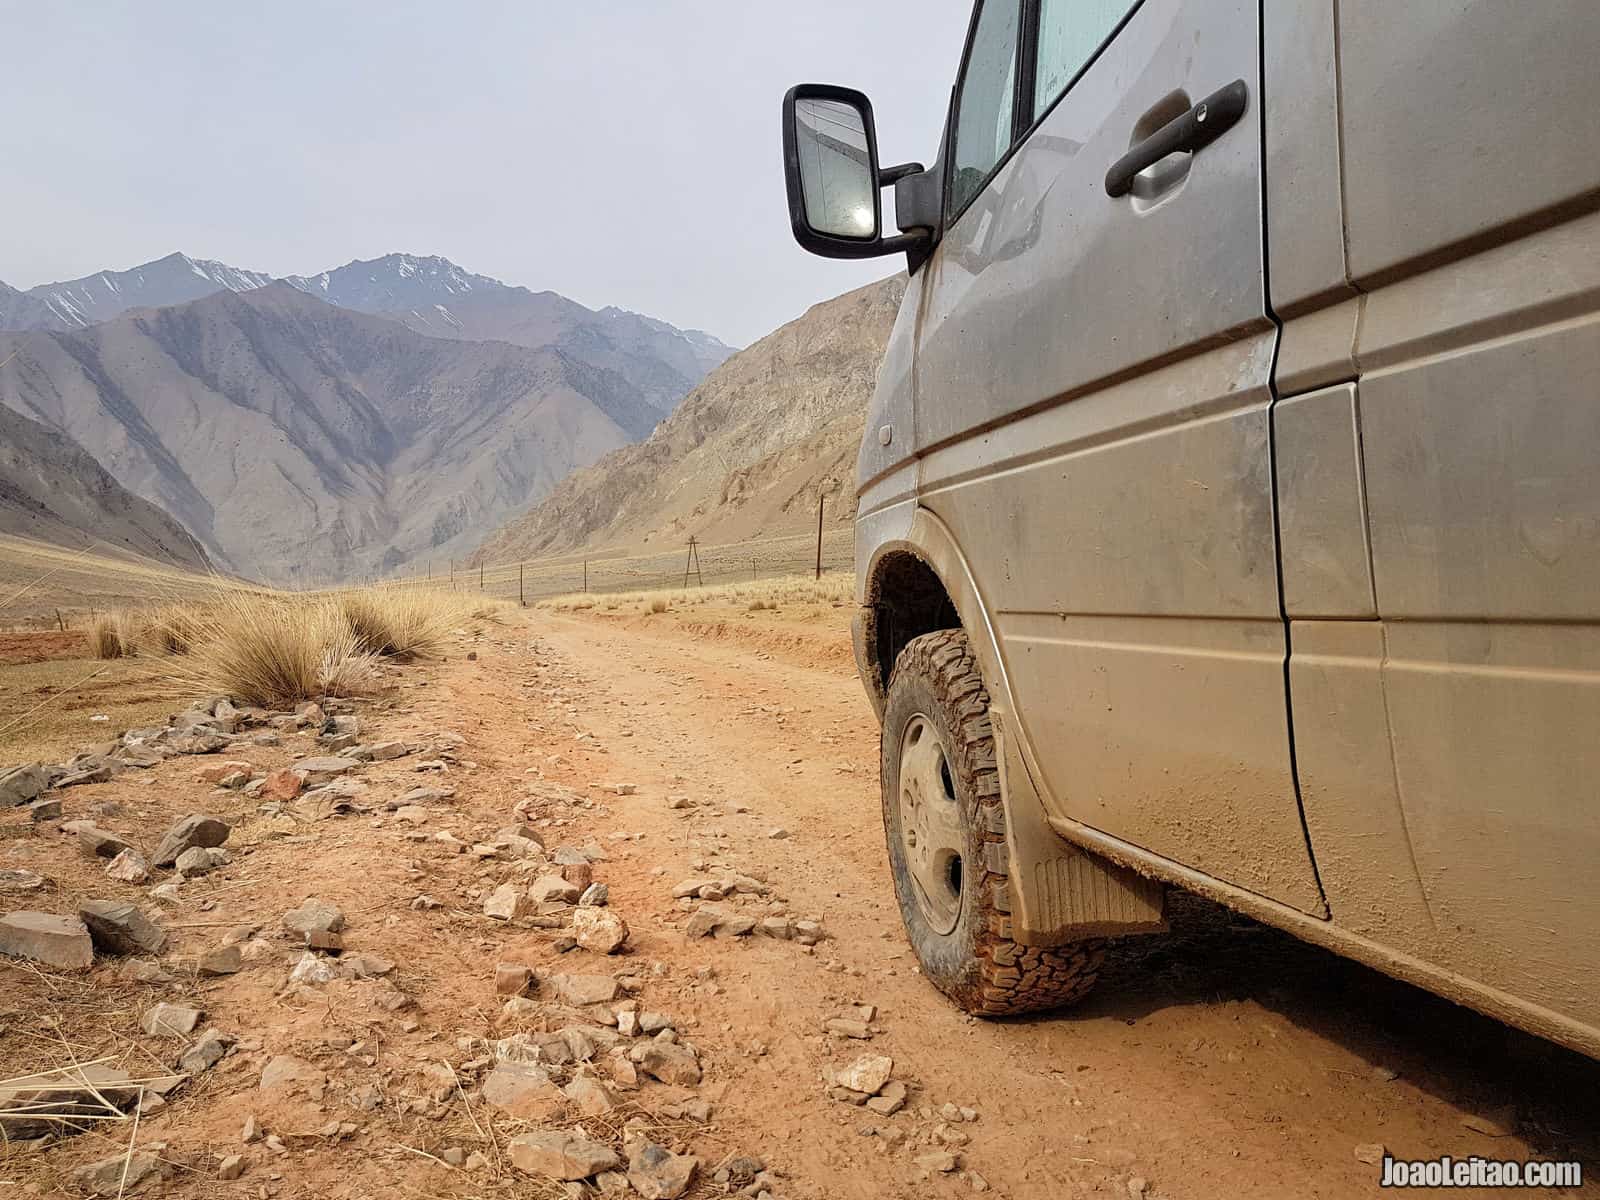
The shutter is a vital component of a camera and, even in the digital era, it’s still a completely mechanical part! It’s the part of the camera that opens for a brief moment to let in the light and the environment the camera is “observing,” and then it closes right after. That allows passing along the information the sensor needs to record the image at the time it was exposed to the light outside.
Think of it as a kind of door and the speed (it would be more accurate to say “the amount of time it stays open”) is determinant in the result, our photo.
The slower it takes for the light to enter, the more light you’ll be able to use. That means that when you have poor lighting conditions, you can compensate for it with a more extended opening. With a good tripod and a super long opening time, you can even take a photograph of what our eyes perceive as almost total darkness.
Shutter speed also has another impact on the final photo. Let’s use the classic example of a waterfall. If we photograph the water flowing from the top of a waterfall with fast shutter speed, we’re able to freeze a very short moment in time.
The world stops in that very instant. Motions that our brains cannot process in real life, because of speed, are suddenly presented to us differently. Like a hummingbird flapping its wings or a wheel moving. Our eyes can’t see it because of how fast they move. But a camera shooting with a fast shutter speed can, and it will record that image
On the other hand, when you use slow shutter speed, the reality recorded stretches over time. If the sensor “sees” a water drop for as long as it takes to fall from the top of the waterfall to the bottom, it records a repetition of that drop throughout its course. That means, it will record a streak. The sensor “saw” and recorded the path of that tiny object for as long as it received light.
This kind of low-speed shutter technique is what’s behind some almost surreal images like the traffic lights at night or the stars moving across the sky. In more advanced cameras, you’re able to photograph while completely controlling the moment the shutter shuts, meaning that the sensor can receive light for minutes or even hours.
However, keep in mind that reducing the shutter speed means the photos will be blurry. When you shoot, you freeze that moment. You record what’s happening outside during that period. Usually, the image is collected in such a small fraction of time that you record whatever happens in that fraction.
With long exposures, the natural vibration of our hands will move the camera even if you don’t notice it. Usually with normal shot speeds that isn’t an issue. If that involuntary swing of hands makes the camera move for a fraction of an inch for one second, it doesn’t matter at all. The camera is only “seeing” the world for a minimal amount of time, like for example 1/60 (one-sixtieth of a second). And in that fraction of time, the shake in our hands goes unnoticed. In other words, the camera practically doesn’t move if our hands shake in 1/60 of a second.
For a long time, that was the acceptable figure to get images without any shakes with the most common focal distances, 18 mm to 35 mm (the bigger the focal range, the more sensitive the image is to shakes). Nowadays, by using stabilizers, you can reduce shutter speed and still get a good picture, up to 1/8 of a second, 18 mm focal distance. For slower speeds, you’ll need a tripod or some other way to stabilize the camera.
Lens aperture
One of them is lens aperture, meaning, how much the parts inside of it can open up to let the light in at the exact moment of shooting. This aperture is classified by the letter f followed by some numbers.
The lower the number, the more those parts will open to let the light in, so you’ll need less light to get a picture. That also means the lens is more advanced and more expensive. For example, f 1.8 means a large aperture and you’ll only find it in high-quality lenses. For an amateur photographer, f 4 is a good aperture. On the other end of the spectrum, you’ll see numbers like f 36, which means a tiny opening that will let very little light in.
And why would you want to let in that little light
The Depth of Field, Color Temperature and White Balance
Depth of Field
I can explain what depth is in simple terms: it’s the distance between the closest and the furthest points focused in one photograph, in focus and clear.
When photographing you can play with this to intentionally create some effects, focusing the attention of whoever sees the photo in one specific part, like a spotlight on stage. After all, our eyes tend automatically look for what’s clear, not what’s out of focus.
The main factors influencing depth are the lens aperture at the time of the shot and its focal distance.
The bigger the lens aperture (or, the smaller its
On the other hand, the bigger the focal distance (that number measured in millimeters we usually associate to zoom, for example, 140 mm), the smaller the field depth.
As an artist and a creator, the photographer can play with these two elements to get a specific effect. But, you’ll always depend on the environment light and how it impacts while your photographing.
Color Temperature and White Balance
Colors have different temperatures, measured in Kelvin degrees (K). A lot of warm colors in one photo makes it look orange, and a lot of cold colors makes it look blueish. All of this is, again, the result of light.
This doesn’t happen only with photography. The world around us is full of colors, warm and cold, that reach our brains through our eyes, and it’s then processed and adjusted so we have a constant feeling of color when we see something.
When we photograph, we usually try to use the same balance for the image we’re trying to capture. We want the final result to be similar to what we see with our own eyes. To play with all these factors, cameras come with a feature called White Balance. This method allows us to correct color using white as the basis. White is not a color, but the absence of color, that’s why it’s used as the standard. When the white areas of an image are really white, that means the color’s temperature balance is correct.
We commonly trust our camera’s analysis to find the ideal white balance in what we’re photographing. It’s called the automatic mode. But many cameras allow you to adjust, from standard programs that the photographer chooses based on light conditions (overcast, sunshine, fluorescent lights, tungsten lights, flash, etc.) to selecting the exact Kelvin degrees you want to use.
It allows you to get lighter or stronger effects by playing with the color temperature or correct the camera analysis.
Let me point out that under extreme conditions you won’t be able to get a picture that reflects what you think you see in real life. The most common cause is the too warm temperature of most city lights, that orange glow over the urban environments that makes our photos look equally orange. It’s tough to remove that predominant tone from the picture, at least at the time you’re photographing.
- Read my page: 12 Easy Travel Photography Tips For Improving Your Photos.
JPG or RAW?
Most cameras allow you to choose between both or, in some cases, a combination of both. JPG or RAW? And what are JPG and RAW? JPG is short for JPEG which stands for Joint Photographic Experts Group — a group of experts that got together in the late 1980s to create an efficient way to reduce the size of image files on a computer.
In theory, an image file has information on each dot. But the Joint Photographic Experts Group was determined to simplify that and find a way to dismiss some of the excess data.
The result of their work was the JPG (or JPEG) format that eliminates redundancies from the content of the files. To give you an example, let’s say there’s an image of a wall painted evenly and without any texture. Why record that information that will be repeated over thousands of dots?
JPG compresses and joins all the areas of an image that have something in common, storing the information with something that in English could translate into “the same item repeats from line 23 to line 50”. No need to describe all the dots if they’re the same and you’re able to save the files at a reduced size.
But are all dots really the same? Probably not. And that’s the catch with JPG. If the file is too compressed, you’ll oversimplify the image, and the flaws become visible to the naked eye. There always needs to be a balance between reducing data and losing quality. Most photo editing software that works with this kind of file lets you define the compression percentage. Usually, up until 80%, you don’t lose quality. But after that, it’s all downhill.
On the other hand, RAW allows for all information to be saved in raw, literally. It records whatever the camera sensor “sees,” dot by dot.
What’s the downside? The files take up a lot of space, and you’ll need to invest in memory cards and external drives big enough for them. In addition to that, there are a lot of photo editing software that don’t accept that file format, and you never have ready-to-go photos to share on social media or upload to your webpage.
The upside is something essential: all possible information is saved. While taking a photo in JPG format your camera immediately compresses it, in RAW format everything is recorded. You can then edit that photo which can, eventually, bring up another disadvantage: those who don’t want to go through all this trouble are better off with a high-quality JPG.
I think I can say for a fact most of the people who are serious about photography choose to save their files in RAW format. A lot of the cameras allow us to save photos in both formats at the same time: one JPG for immediate use and one RAW to file and edit later. But that worsens all the space issues caused by huge RAW files.
Composition in Photography
What is the composition of photography?
It’s how a portion of the world our eyes see, is included and arranged in the restricted space of a photo.
- Read my page: 20 Photography Composition Rules You Need To Know.
What’s the Best Travel Photography Gear for my Trip?
People who are starting to travel or to photograph ask the same question a lot. What’s the right camera?
It’s a complicated question to answer. Each person is unique, with their own set of preferences and criteria that it’s virtually impossible to say this or that camera is the best for travel photography.
- Read my page: Best Travel Photography Gear.
Photography Software
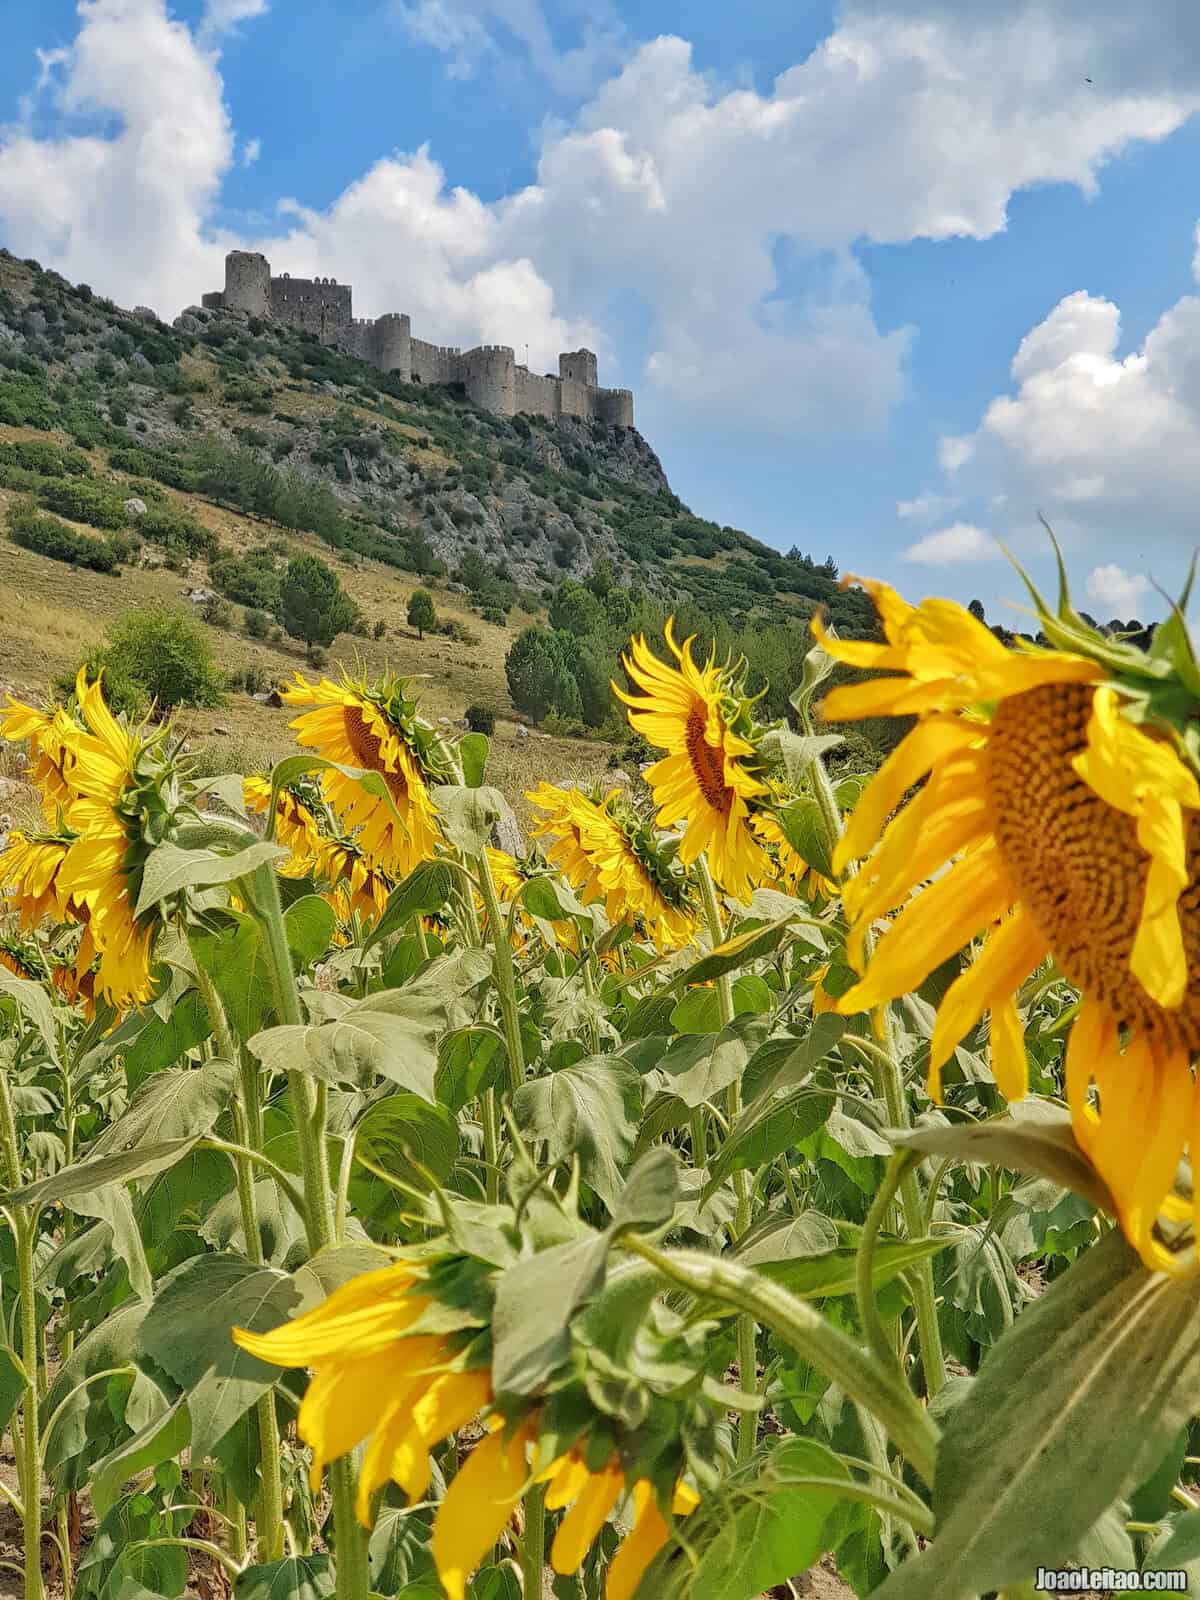
People use photography software for many reasons. In most cases, they use it to improve the pictures, increasing brightness, adding color, balancing tones. But there are other functions to be explored in the universe of photography software.
Editing Images
In the age of analog photography, all we had to do was handle our film to be developed and pick it up a few hours later. What most people don’t know is that besides the chemical process of developing and printing, the person working at the lab did a lot of what we do today at home with software. Meaning, he worked to get the best possible result based on the initial product.
Those who take photography more seriously, and all professional photographers, digitally alter and edit their photos on a computer. It’s a work done in various degrees, from subtle changes in contrast and brightness to more complex operations to obtain the desired color balance and HDR (High Dynamic Range) effects.
Image editing software offers a wide range of possibilities. In addition to fine-tuning, you can actually manipulate images by removing unwanted elements like the tiny dust specks caused by dust in the sensor or more drastically removing real objects we don’t want to see in the photo.
That raises the almost philosophical question of what is legitimate to do with software and continues to call “photography” to the end product. From time to time, there’s a new controversy where people accuse famous photographers of creating more on the computer than on the ground. It’s a never-ending discussion, and maybe each person should do as they wish and enjoy photography.
By the way, keep in mind that the adjustments and the potential of editing a photo increase if you take it in RAW format. If you choose the more practical and light JPEG, there are things you won’t be able to do, and in general, flexibility is a lot more reduced.
What Software to Use?
As you can imagine there are hundreds of software to help us deal with our needs as an amateur or professional photographer. There are also many different operating systems: Windows, Android, iOS, macOS. It’s impossible to list them all here or even cover all of them. Instead, I’ll mention just the ones that are essential in a broader sense and the ones with the most users in image editing, Windows.
Adobe Photoshop CC
Adobe Photoshop is a classic. The classic. It was developed in 1987 by north-American brothers Thomas and John Knoll who sold it to Adobe. It was launched in 1990, 28 years ago.
It’s probably the most powerful image editing software but also the one with the steepest learning curve. Working with Photoshop is an art that takes years to perfect, and I don’t even know if the post process will ever be complete. To complicate things further, or improve them, Photoshop, like all other Adobe products, works with additional modules that give it even more power. They are called filters, available for purchase or for free.
Adobe Lightroom CC
Lightroom is like a simplified version of Photoshop but still very powerful, with tools that cater to the amateur user such as the ones to organize and label photos in a collection. However, Adobe split the Lightroom in 2017 into two versions: CC, for the general audience, and Classic CC, for professionals.
Adobe Photoshop Elements
Photoshop Elements is an even simpler Adobe product, designed to offer a smooth operating system for those who aren’t that tech-savvy. The editor has three levels, from the simplest to the more complex, each one with a different interface. At the most advanced, the user will use all features manually with total control over the tools he’s using. In the other modes, there are tutorials explaining to the least experienced how to improve their photos with just a couple of clicks.
Corel Paintshop Pro
Corel Draw marked a generation of designers. It’s software to create and edit vector images or objects. At the time, this catapulted the Canadian company, but I believe it’s lost its place over the years. Still, using it to edit images is a powerful tool to consider. Even though it can’t compete with Photoshop at a more advanced level, it still offers a lot for a reasonable price and for most users it will do just fine. And Corel has been continuously working on its newer versions, improving them with more tools.
ACDSee Ultimate
Just like Photoshop, ACDSee is based on software with a long history. It first came out in 1994, and for years it was THE software everyone used to organize and view images on a computer. A real trendsetter at the time, things are not that simple anymore, but the ACDSee is a worthy successor from those first generations of software.
Online Options for Photo Editing
If you don’t want to or can’t install one of these software, you can use online tools for photo editing. In those cases, you’ll upload the photo you want to edit to a website and then use the available tools to improve the picture. When the work is done, you can download the altered photo.
- You can try
Polarr , BeFunky or Fotor, but there are many more options. In most cases, there are additional tools and features, for a fixed fee.
Organizing Images
You’re taking photos and time is passing by. Suddenly you realize you have thousands, dozens of thousands, hundreds of thousands of images. How do you find that specific photo you need to show someone or share on your Facebook? It’s a hard task.
Some software can help you with that by labeling and organizing all our photos. We can split them into groups, label them with keywords, write the names of the people in the pictures, grouping them. You can import images directly from the camera’s memory card or a drive on your hard disk. It allows you to quickly view all the photos and create sequences to show your friends. Each software will have their upsides and their downsides, but all of them will help you keep your collection organized.
Other Tasks
There are small and big applications for a series of specific tasks related to photography. Gramblr allows you to add photos to your Instagram feed straight from your computer, without the need to open the Instagram app. Softwares like Fotosizer automate the process of reducing the size of a series of images, which is a precious time saver if you wish to send these over the Internet and, for example, upload them to your Facebook. Some tools add coordinates to your image files that could have a bunch of practical applications.
- Follow me on Nomad Revelations Instagram.
Keeping My Photos Safe
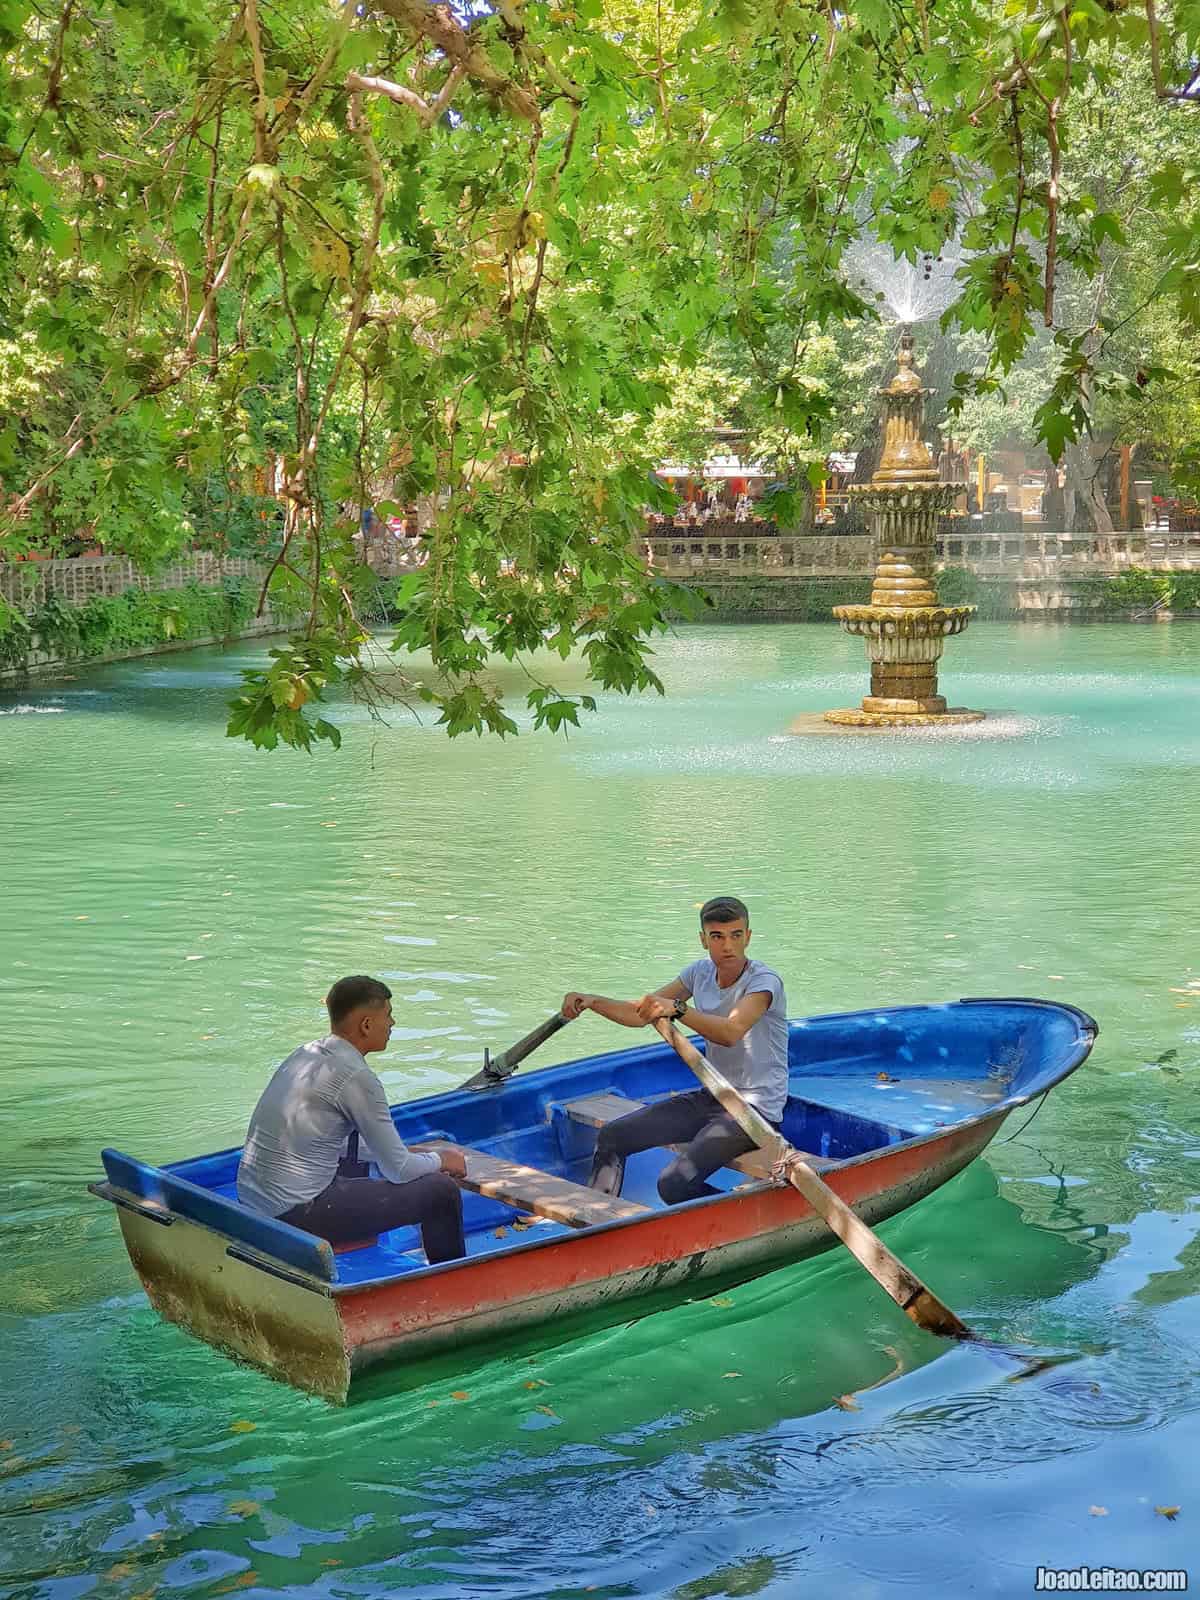
Imagine that you’re at the final stretch of a three-month trip across South America and just a couple of days before you fly back home, your smartphone vanishes. The smartphone with which you took so many photos of beautiful things, mishaps, and other unique moments. It doesn’t matter if you lost it or if it was stolen. It’s gone. And with it, all the images you captured. How do you feel about that?
It’s crucial to ensure, within reason, that whatever happens, you won’t lose your travel photos. You must have safety copies, in a carefully thought out way. And what are the best options and the best methods? That’s what we’ll see next.
The Cloud
Casual photographers, who use low-resolution devices and don’t shoot that much during their trip, have it easier for them. They can easily use something like Google Drive or Dropbox. Something that works based on the cloud, meaning, a system that keeps their files (image files and others, of course) safely in expert hands.
For increased security, use not one but two cloud systems at the same time to keep two safety copies of the same file.
Memory Cards or Pen Drives
For people who photograph more, especially if they use a mid-range resolution device (which means larger files), you won’t be able to depend on a system like the Cloud to save safety copies.
Just do the math. All those files will have to travel via the Internet to an account that by default has limited storage capacity. Even if there is no limit to how much data you can send, you have to consider how long it will take you to post the photos.
Not to mention the need to have Internet access. And not just simple access but one at a reasonable speed. And if that’s not an issue when traveling in Europe or other technologically advanced countries, those traveling in more remote areas can go for days without being able to connect to the Internet. By the time you do get connected, the speed can let you down.
So, you’ll always have to find another way to make sure your images aren’t lost forever.
And the simplest and most affordable way to do this is by buying extra memory cards or pen drives and saving copies of all the photos you take every day. It’s up to you to decide how many and with what capacity. Different people take a different number of photos, travel for more or less time, and use devices with smaller or larger files.
One of the advantages of this option is that it’s an easily scalable solution. If any of the circumstances change, you can always buy more cards or drives.
One of the disadvantages is that you either carry a small laptop with you or you’ll have to frequently search for a cyber café or a similar space where you can copy the files. And in some countries, they are not that easy to find.
For increased security, if you want to invest a little more, you can create safe copies of the files and mail them home.
High-Capacity Memory Cards + Computer with a Hard Drive
In this option, you’ll use high-capacity memory cards that you’ll keep in the camera, where you’ll store all the photos you take while traveling. At the end of the day, you’ll copy the new photos to the hard drive of the computer you’re carrying.
The problem is to find an appropriate laptop. Modern devices tend only to have SSD memory, limited storage capacity and are completely inappropriate for what we need. Also, laptops with an inbuilt hard drive are usually bigger and heavier.
For increased security: add a third way to this option by using one or two high-capacity memory cards or pen drives.
External Hard Drive
If you need a lot of backup space, you can use a simpler method: travel with an external hard drive. The advantage of using this method is virtually infinite space to store backups, and if you travel with a laptop, you can use the disk for other things. As for the disadvantages, it’s one more thing you’ll have to carry around and not particularly affordable.
Keep in mind that SSD memory-based disks are more expensive and come with less space, but they have a few advantages: they weigh less, they’re incredibly fast and have no mechanical elements, which makes them more robust and better equipped to deal with unwanted flaws.
Please note that you don’t have to use it with a computer necessarily. There are several devices on the market designed to be autonomous. The more advanced models get the data directly via a cable or memory card and have inbuilt WiFi. If you opt for this, I advise you to spend a little more money and buy a sturdier disk designed to withstand physical impacts and adverse weather conditions – rain, cold, heat, and extreme dust.
For increased security combine with memory cards or pen drives and, better yet, create a triple redundancy using high-capacity memory cards where you can save all the photos you take during your trip.
One step forward…
Something else you can do but it’s not always possible is asking people you meet along the way to copy your photos into a computer. When you get home, you let them know everything is okay and that they can delete the data. It’s not a standard method, but it can add an extra level of security.
Great Themes and Ideas for Travel Photography
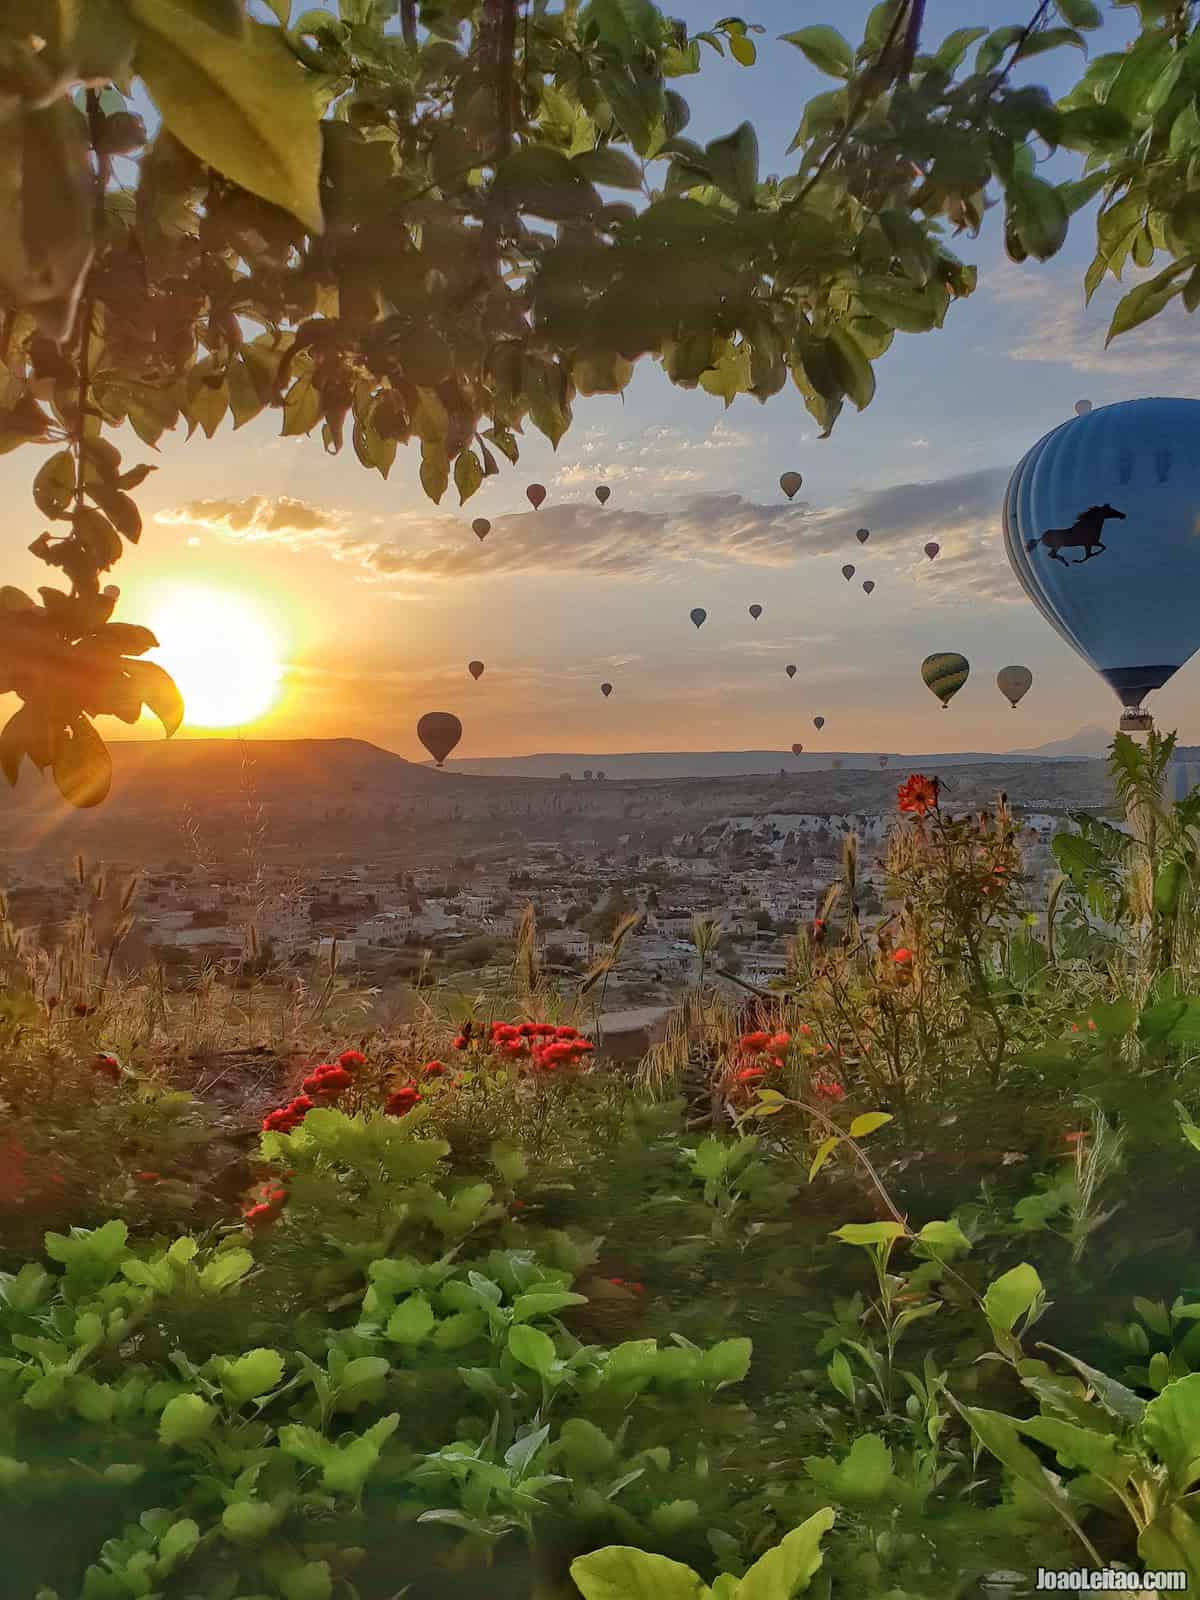
Who doesn’t like returning home with a collection of travel photos with vibrant colors and unique themes? One might think that all you need is to go out in the world to get a series of remarkable pictures, but as many will find out by themselves, that is not enough.
You have to look for the places, and the moments with the most photographic potential and although we never know when the next great picture will come from, some themes rarely let us down. These are photogenic environments full of color or full of life. Let’s discover them.
- Read my page: 12 Easy Travel Photography Tips For Improving Your Photos.
1. Nature photography
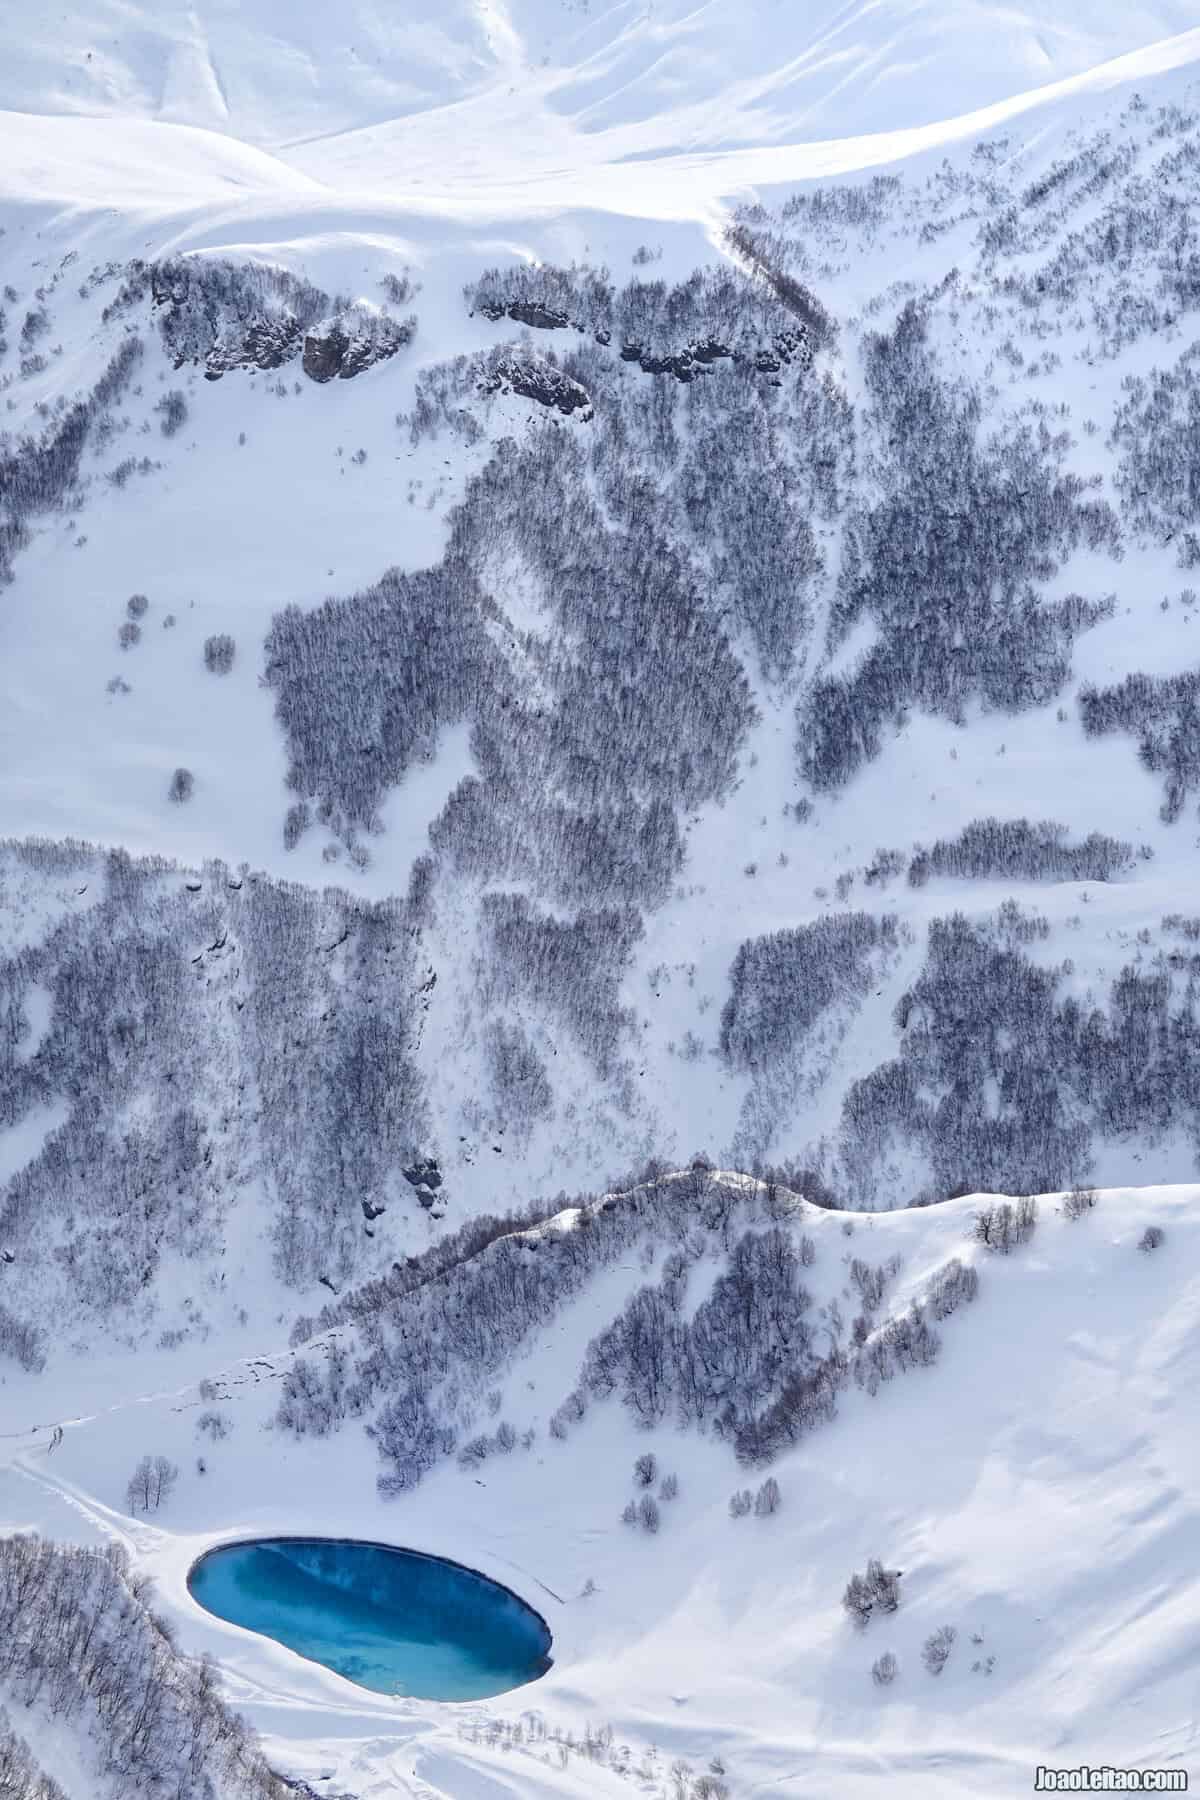
It’s by far travelers’ favorite theme. To get the best results you must study the specifics of Nature Photography. There’s a lot that goes into the art of capturing breathtaking scenery. We can rarely do justice to what our eyes capture because unfortunately, our eyes have possibilities that photo gear hasn’t been able to achieve yet, despite all technological advances.
I’m telling you this, so you’re not disappointed. When you’re facing vast landscapes, no photograph can replace your memory. Something always gets lost. It can be a lot, or it can be little, but it’s never the same.
The Nature category encompasses all those wonders we gotten used to on our favorite blogs and Instagram accounts. The heavenly beaches, frozen mountains, the lush green of tropical jungles, the warmth of the golden desert at the end of the day.
Each person will find their favorite niche in this vast theme.
2. People photography
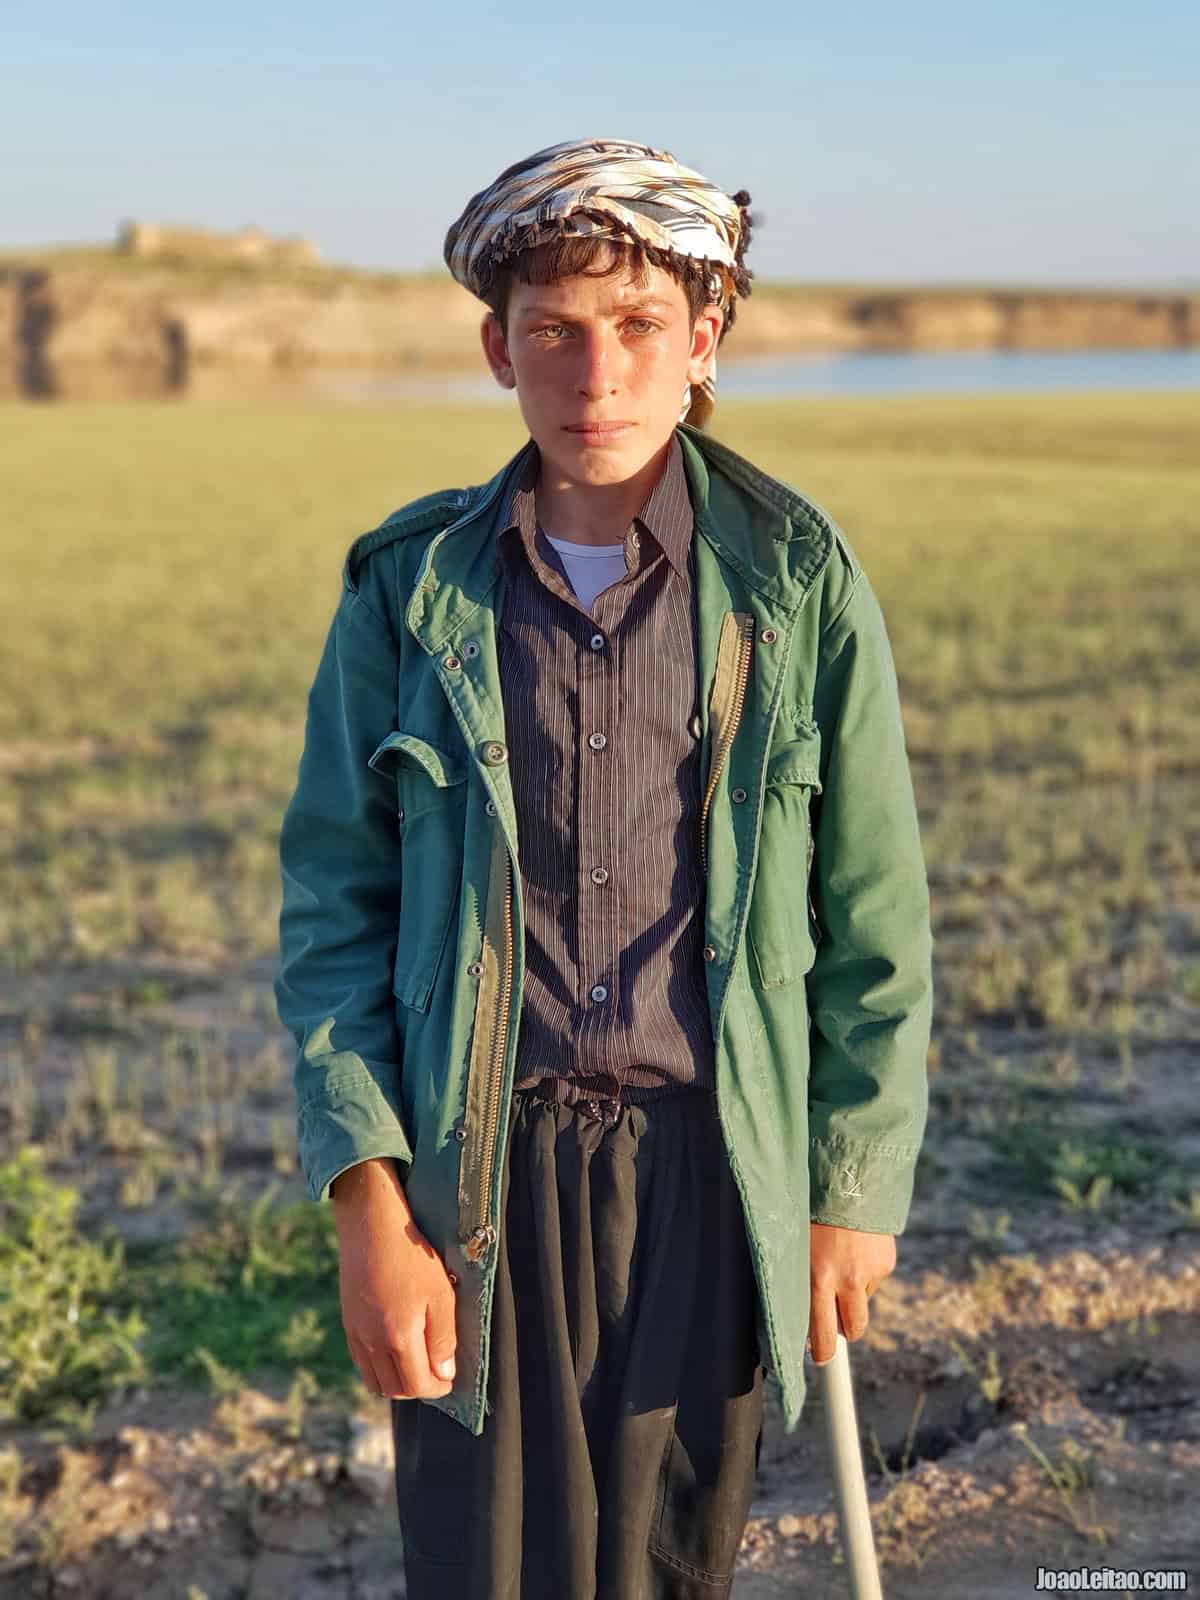
People are the most beautiful topic to photograph. They’re diverse, they represent different cultures, they dress differently, they have unique activities. Some of the best travel photos are of people. The famous picture of the Afghan girl that was the cover of the National Geographic Magazine in June 1985 comes to mind. It’s been broadly used and reused over time. That was “just” the most famous photo by North-American Steve McCurry who continued his work along with the same photography style.
But photographing people is a big challenge for a photographer, well beyond the technical aspects. You can’t approach people in the same way you approach a landscape. People have their own will and many times that doesn’t include having their picture taken by an unknown foreigner.
How you approach this is crucial, and it depends a lot on the personality of the photographer. The bottom line is that without the person’s permission, there’s no picture. It’s not at all about the technical aspects.
A traveler who likes to communicate and has a way with people will have an advantage. When you see someone interesting, ask if you can take their photo. If you don’t speak the same language, gestures go a long way. Sometimes, locals are the ones asking us to take a picture, especially in places that aren’t crowded with tourists and especially younger people. There are places in the world where kids love to have their photos taken. If you’re ever wandering in São Tomé with a camera in hand, be prepared to photograph a lot of kids and keep in mind you’ll have to show them the result immediately.
As for the adults, they may be more resistant to cultural, personal, or psychological reasons. There are many areas of the globe where people believe photography is something supernatural with negative implications. I’ve traveled to fishing communities where photographing men working or on boats was seen as something that would have tragic consequences. In many Muslim countries, photographing women you don’t know is practically a taboo. Each traveler should read about the regions’ customs and act accordingly.
Some psychological aspects may cause people to react negatively in front of a camera. A couple of examples: in areas overcrowded with tourists, locals could simply be fed up with strangers and some of their actions like taking photos all the time. In other cases, people are embarrassed, they feel inferior compared to the western tourist, they don’t want the less pleasant things to be documented and seen as a souvenir of that place, like poverty.
And, lastly, of course, each person is different, and sometimes that’s all that determines a different reaction to the request to take a photo. Some are extroverts, and some are shy. Some appreciate the small talk and the picture with the foreigner, while others clam up. It’s normal. We’re all human.
For those who are less talkative, it will be harder to photograph people. You can do it discreetly or from a distance. There are still great photos to take even without the impact of that upfront, direct, and consented portrait. Sometimes a photo of someone’s back works well as long as you have the right environment and framing.
There are small tricks for shy people if you really want to photograph people. There’s a classic technique that is photographing without looking through the viewfinder. The more experienced photographers can calculate the best parameters for each photo, but most will shoot in auto or semi-auto mode. However, to make sure everything goes smoothly, you must make sure that the camera doesn’t have a light or any other sign that indicates you’re about to shoot. Also, keep in mind that some shutters are quite loud and it’s best if people can’t hear that click sound.
All details matter. If you’re on a busy street, try to synch your actions to something that captivates people’s senses like a passing bus, a traffic light that turns green. Look around you and try to find something that could be on the verge of happening and be distractive enough.
Staying in the same place for a while is also a proper technique. People won’t pay so much attention to you if you’ve been on the same spot for a few minutes. They might have noticed the arrival of a stranger, but after a while, there’s nothing new about it, and people resume their normal activities and routine thoughts. It’s the best time to photograph.
Finally, there are those who are not at all shy and photograph carelessly. They may take home some cool photos, but the ethics with this style is dubious and, of course, has the potential of causing all sorts of problems.
- Read my page: People of Morocco.
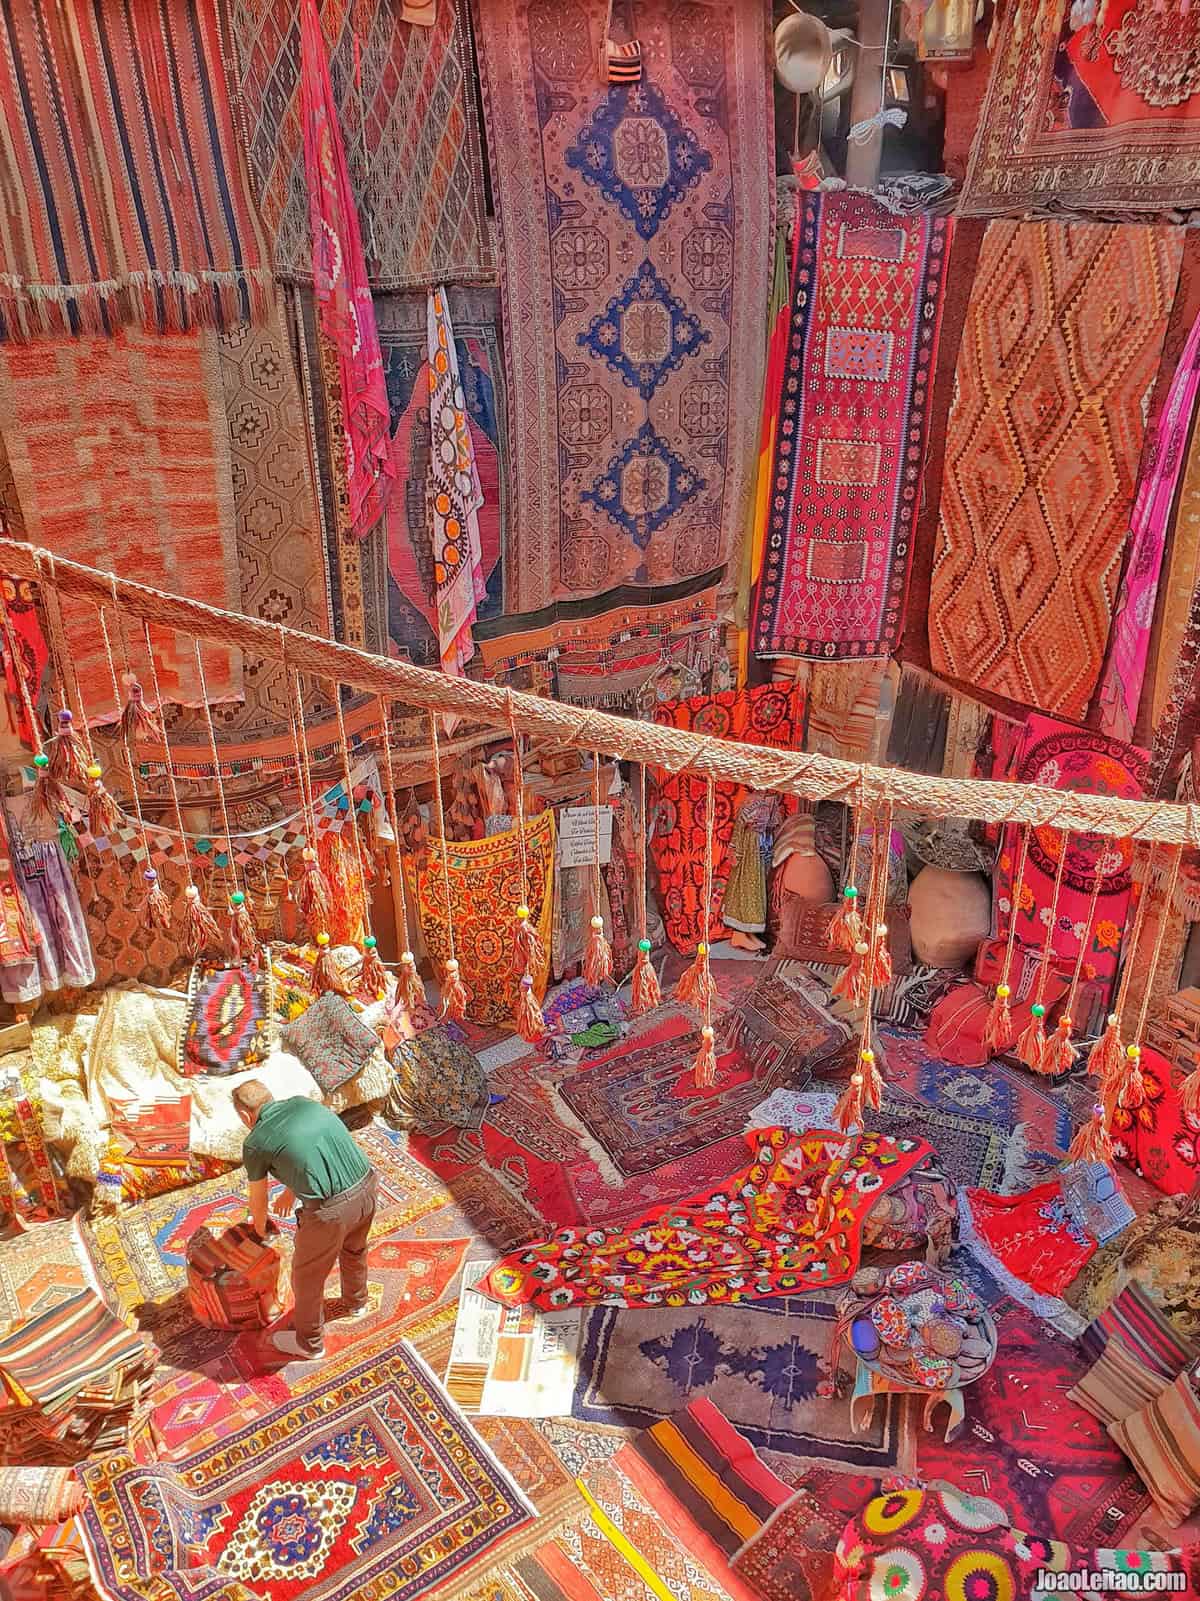
3. Markets photography
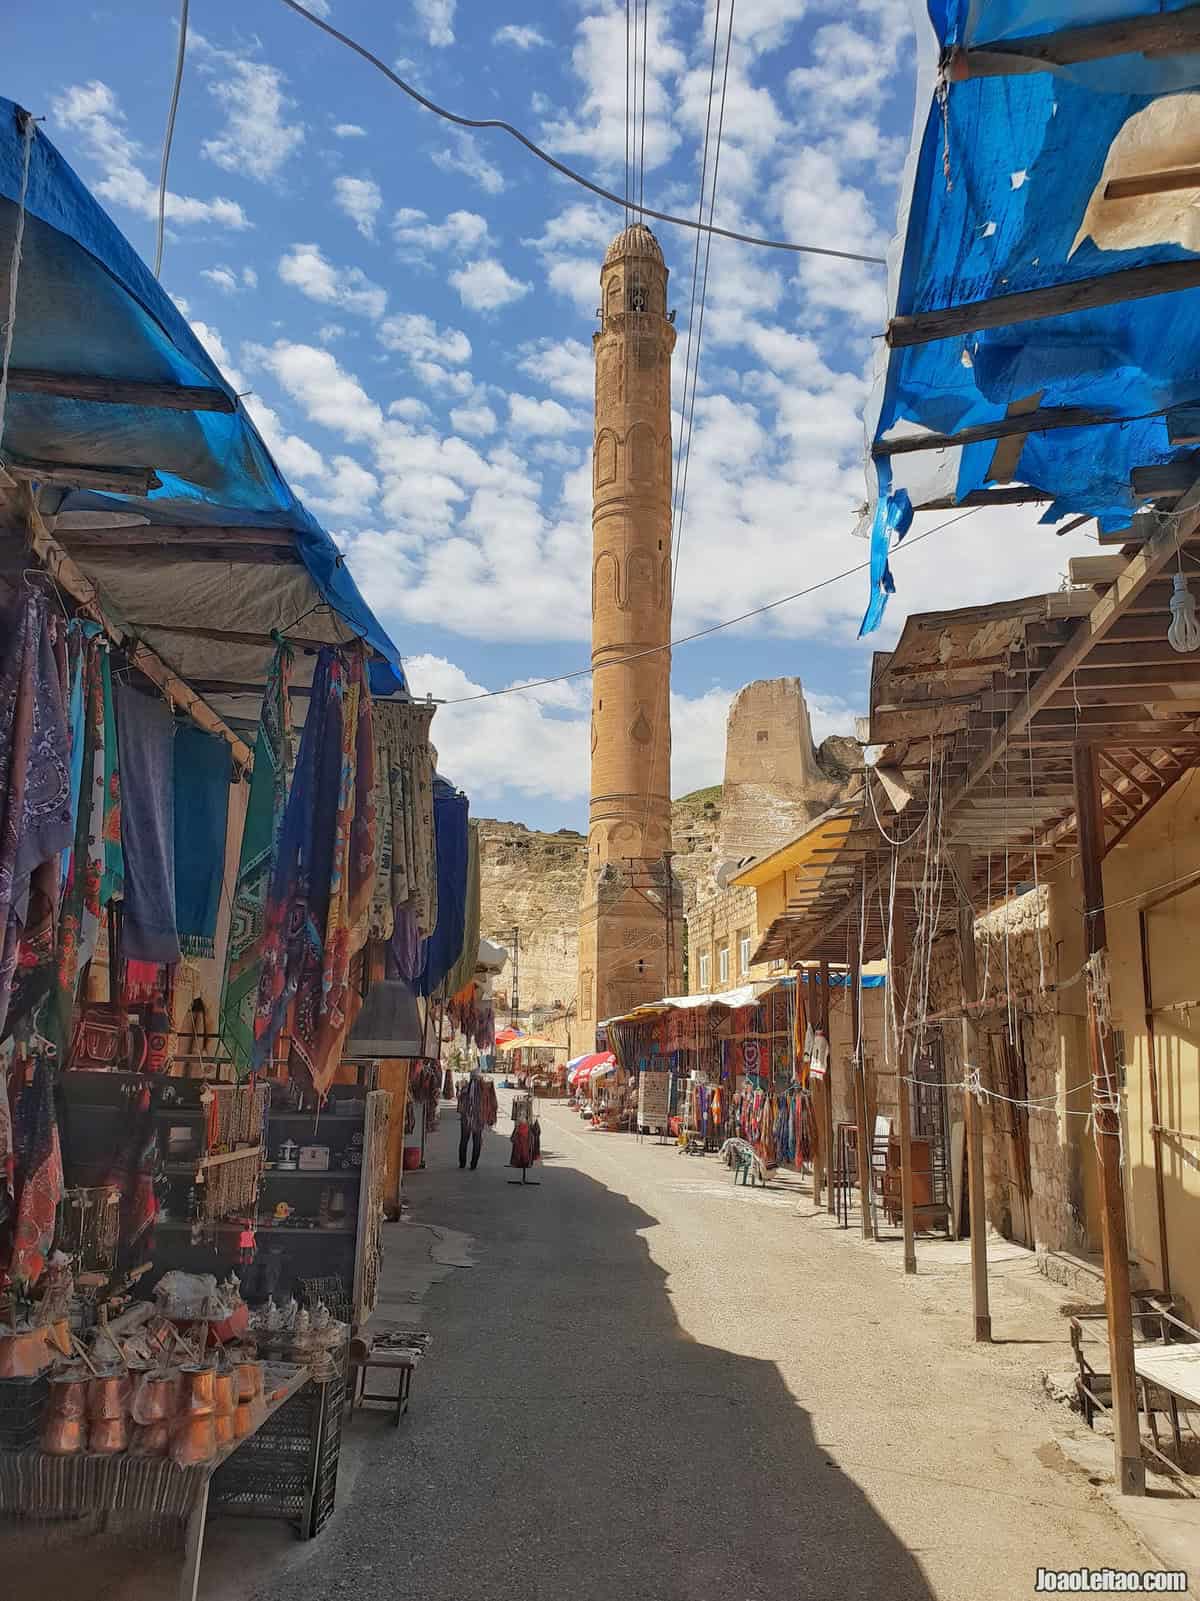
Markets are a classic setting for amazing shots. For all the reasons. They have people, different products, endless colors. There you can feel the pulse of local life. Homemakers are looking for the ingredients for the day’s meals, vendors anxious to close a good deal. Some markets follow a sort of a theme and have a smaller range of products. In others, you can find anything you can think of.
There are markets everywhere in the world. In Western Europe, they’re organized and clean. As you travel further East, they’re more chaotic with stronger scents. The vendors become photographic subjects themselves. Many react badly when they see a camera. They don’t want us to photograph them or their merchandise. But there are always the surprising ones that ask us for a picture. In other situations, a smile and some words in the native language, when possible, are miracle workers.
Products are typically photogenic. What can we say about a stand with neat piles of spices, covering an impressive range of colors and tones? Or a food and vegetable stand, especially in tropical countries, with fabulous colors?
Some markets are iconic like the Chichicastenango one in a small village in Guatemala, where people are direct descendants of Mayans and speak Quechua. It’s considered one of the most colorful markets in the world. Another example is the Nizwa Goat Market in Oman that happens once a week and where livestock is presented in circular movements to a bidding crowd. In Africa, there are some must-see markets as well, like the Sucupira market in Cidade da Praia or, the biggest of all, Merkato in Addis Abeba, the capital city of Ethiopia.
There are indoor markets, like most of the Grand Bazaar in Istanbul, and outdoor markets. Some combine both environments, which is ideal for photographing because you can explore the abundance of light outside and the shadow play inside, and sometimes the smoke in covered corridors.
Wherever it is, whatever the kind of products it sells, a market will always be a place that attracts travelers especially those interested in photography.
4. Abandoned places photography
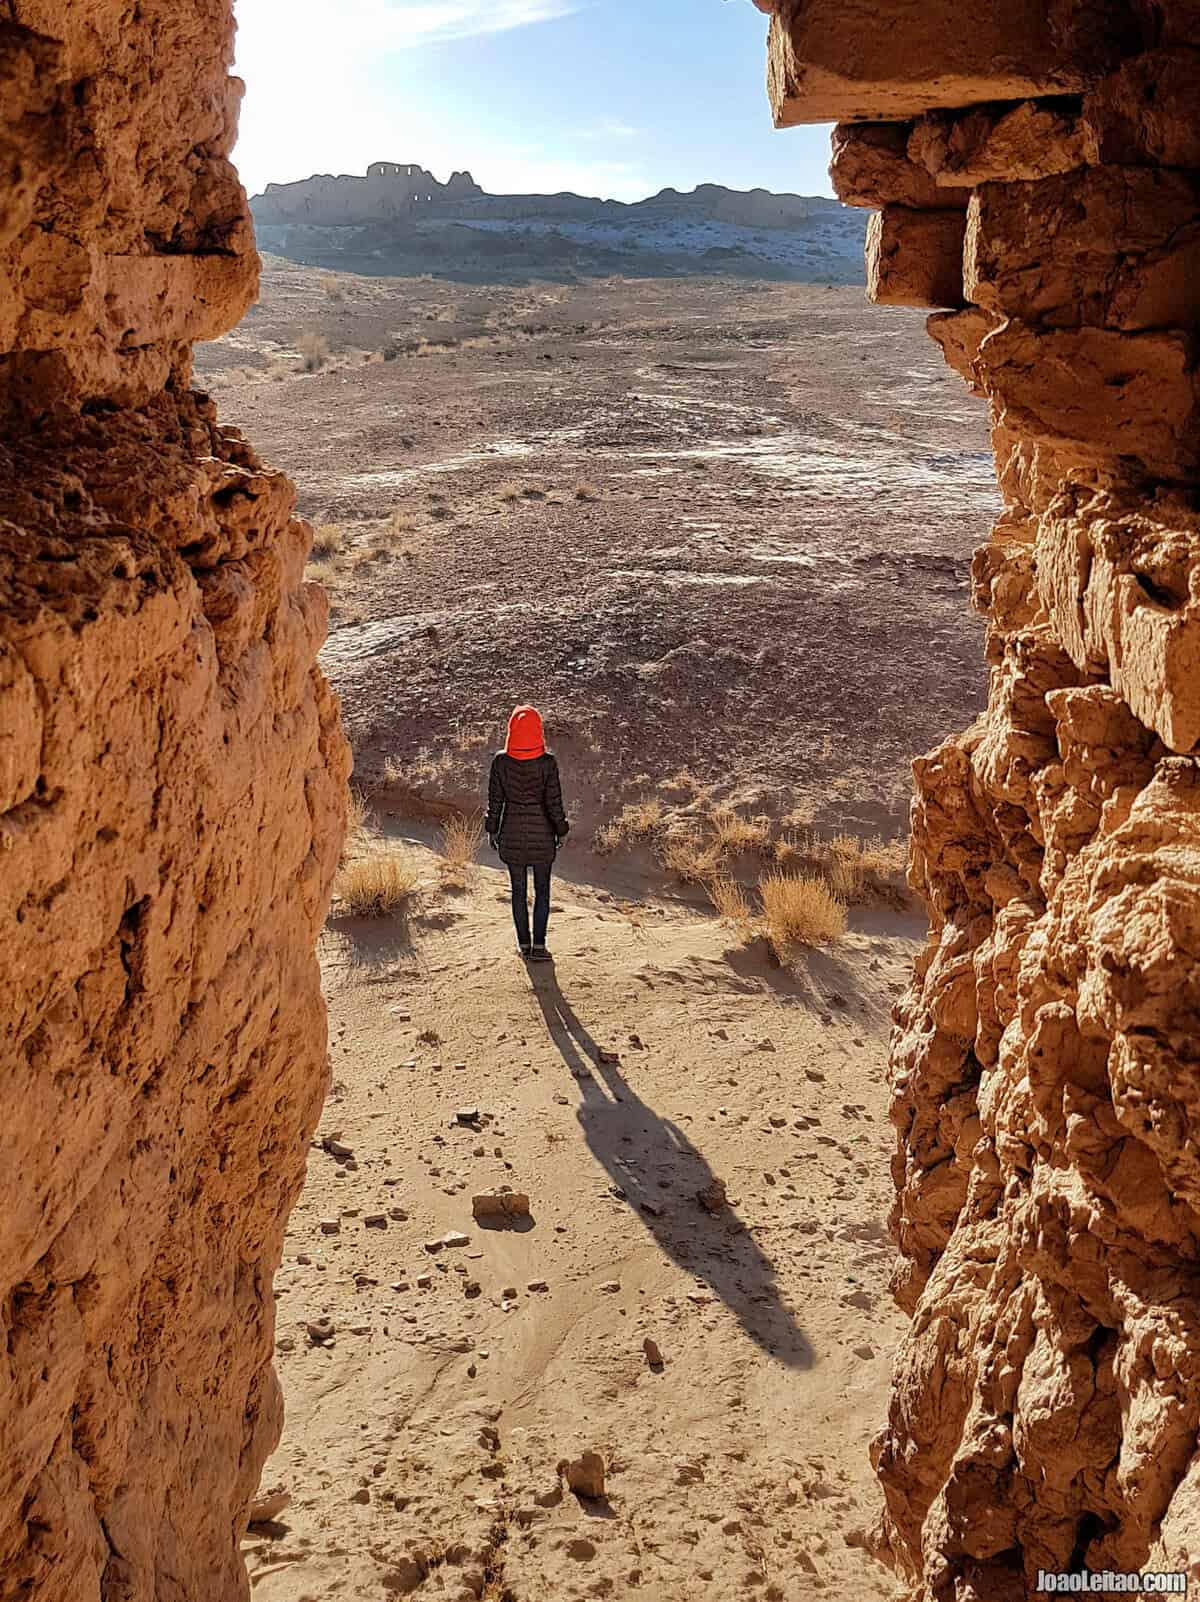
Also called Urbex, an acronym for Urban Exploration, it’s the interest in discovering and exploring abandoned places, be it hospitals, military bases, hotels. Whatever work by a human, more or less recent, that’s been abandoned not too long ago.
Some people react negatively to this kind of environment, and for them, there’ll be plenty of fantastic photo opportunities elsewhere. However, if you’re curious about discovering the past of these historical places, you’ll find a lot of reasons to photograph, details and different perspectives of these unique places.
This type of environment is a perfect fit for black and white photography, potentially more emotional and that ties in well with neglected places.
5. Train, bus stations, and ports photography
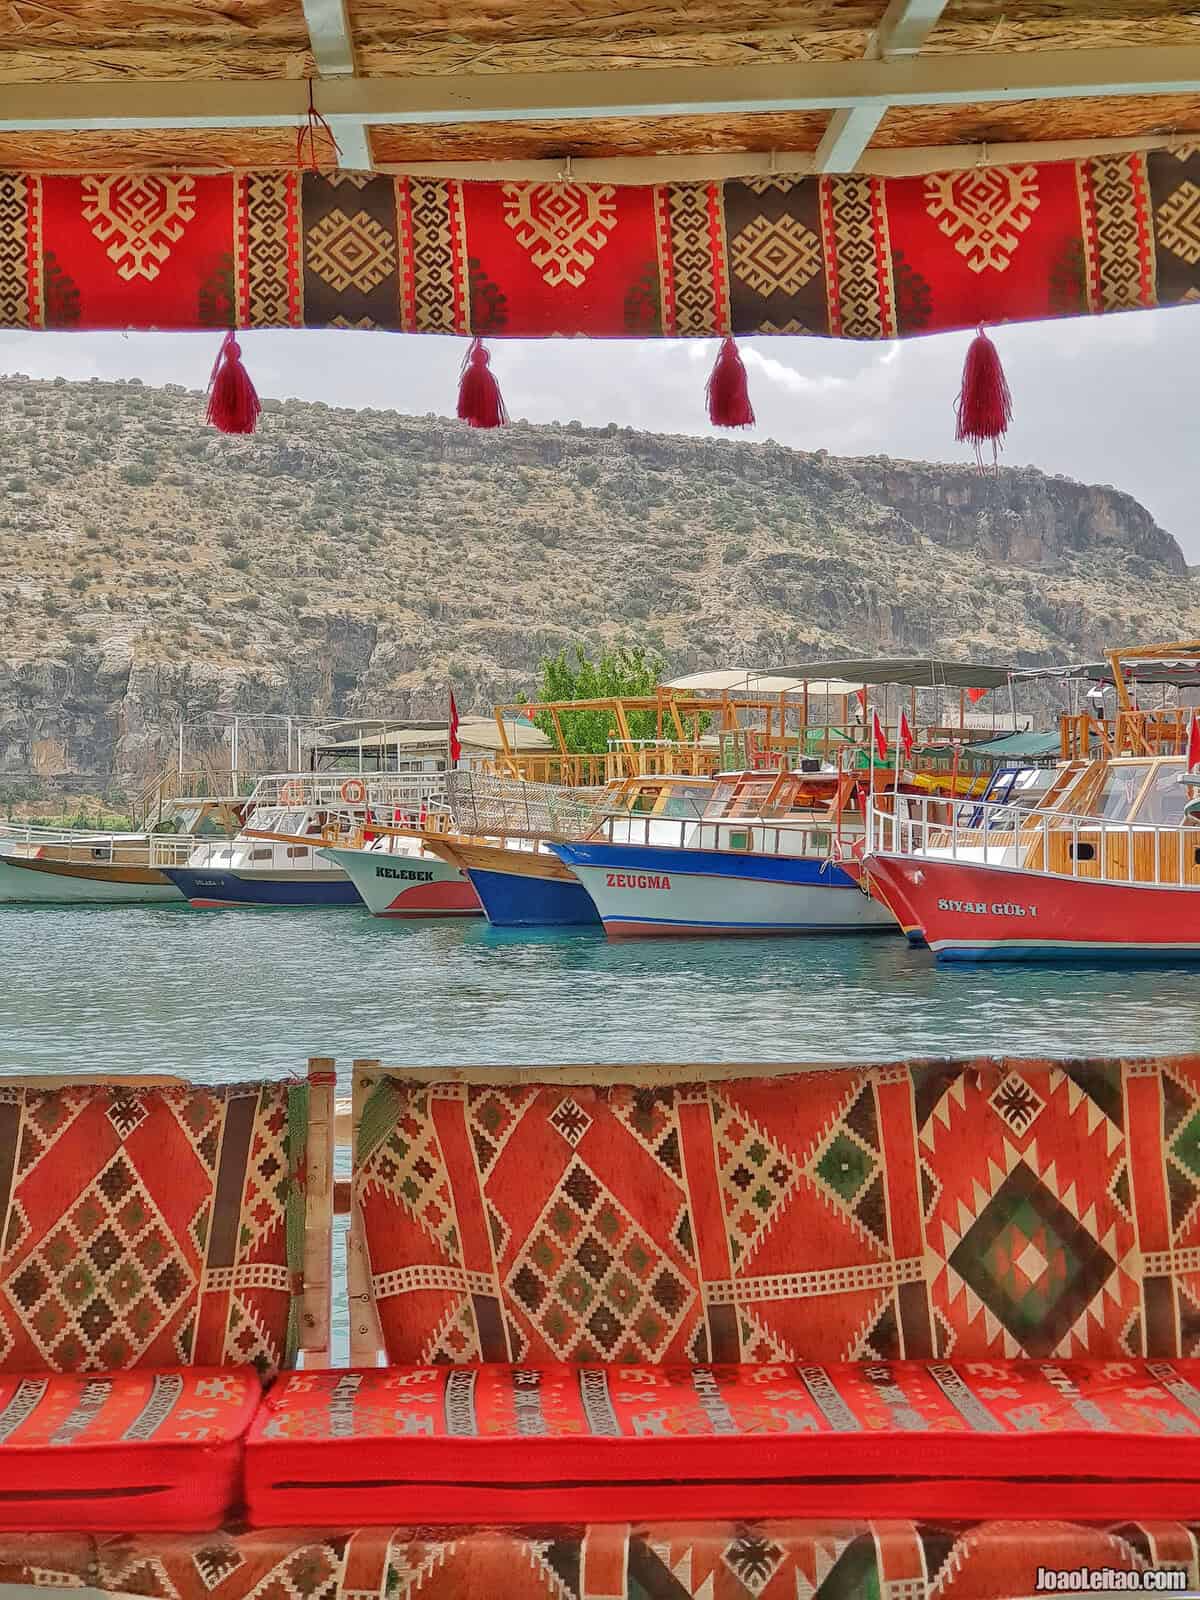
These locations have loads of photographic potential. They have a strong human presence, lots of life, and a crazy rhythm. And, of course, the reasons behind their activity: trains, buses, and boats.
People are going in and out, some people begging and others selling merchandise to passengers. In some countries, it’s also the ideal place to see people wearing traditional clothes, villagers coming into the city and traveling back to their communities. At stations, you can see a representation of most of the population. There are people from all social classes, men in uniforms, priests or monks. It’s like a cultural museum, a showcase of the local population. And it’s all there, concentrated in one place and within reach.
Then there is the vehicle that brings everyone there, like the buses. In Panama, these vehicles are individual enterprises, so each one is like an independent business on wheels. Most of the time the decoration costs more than the car, so you can imagine how amazing they look. And it’s not just in Panama but in countries like Sri Lanka or the Philippines. There you’ll find the famous Jeeps left behind by the Americans after World War II, known as Jeepney after they were adapted and used as public transportation. Something else to peel your eyes for. In rural areas in Colombia or Myanmar, some buses look like they’re out of this world. In Senegal, the Car Rapide ride at crazy speeds with the helper hanging from the outside. And where can you see all this? At bus stations of course!
The interest in trains is obvious: they’re such complex and photogenic machines that some people’s hobby is trainspotting and photographing them. Because they depend on rails, it’s common to find older equipment abandoned near train stations or displayed at railway museums.
When it comes to boats, think of Istanbul or Hong Kong to immediately understand the photographic potential of riverboat stations. At cruise ship ports you get unusual perspectives of the vast ships that dock there.
Some stations alone are enough to catch the photographer’s attention. In Europe, there are countless historical train stations built in the 1800s there are true architecture works of art, with precious ornaments. In Africa, Asia, and some Latin America countries, some train stations are a reminder of the colonial past in those areas. And then you have the more recent buildings but just as beautiful, with modern lines, revolutionary elements, and new visual concepts.
6. Cemetery photography
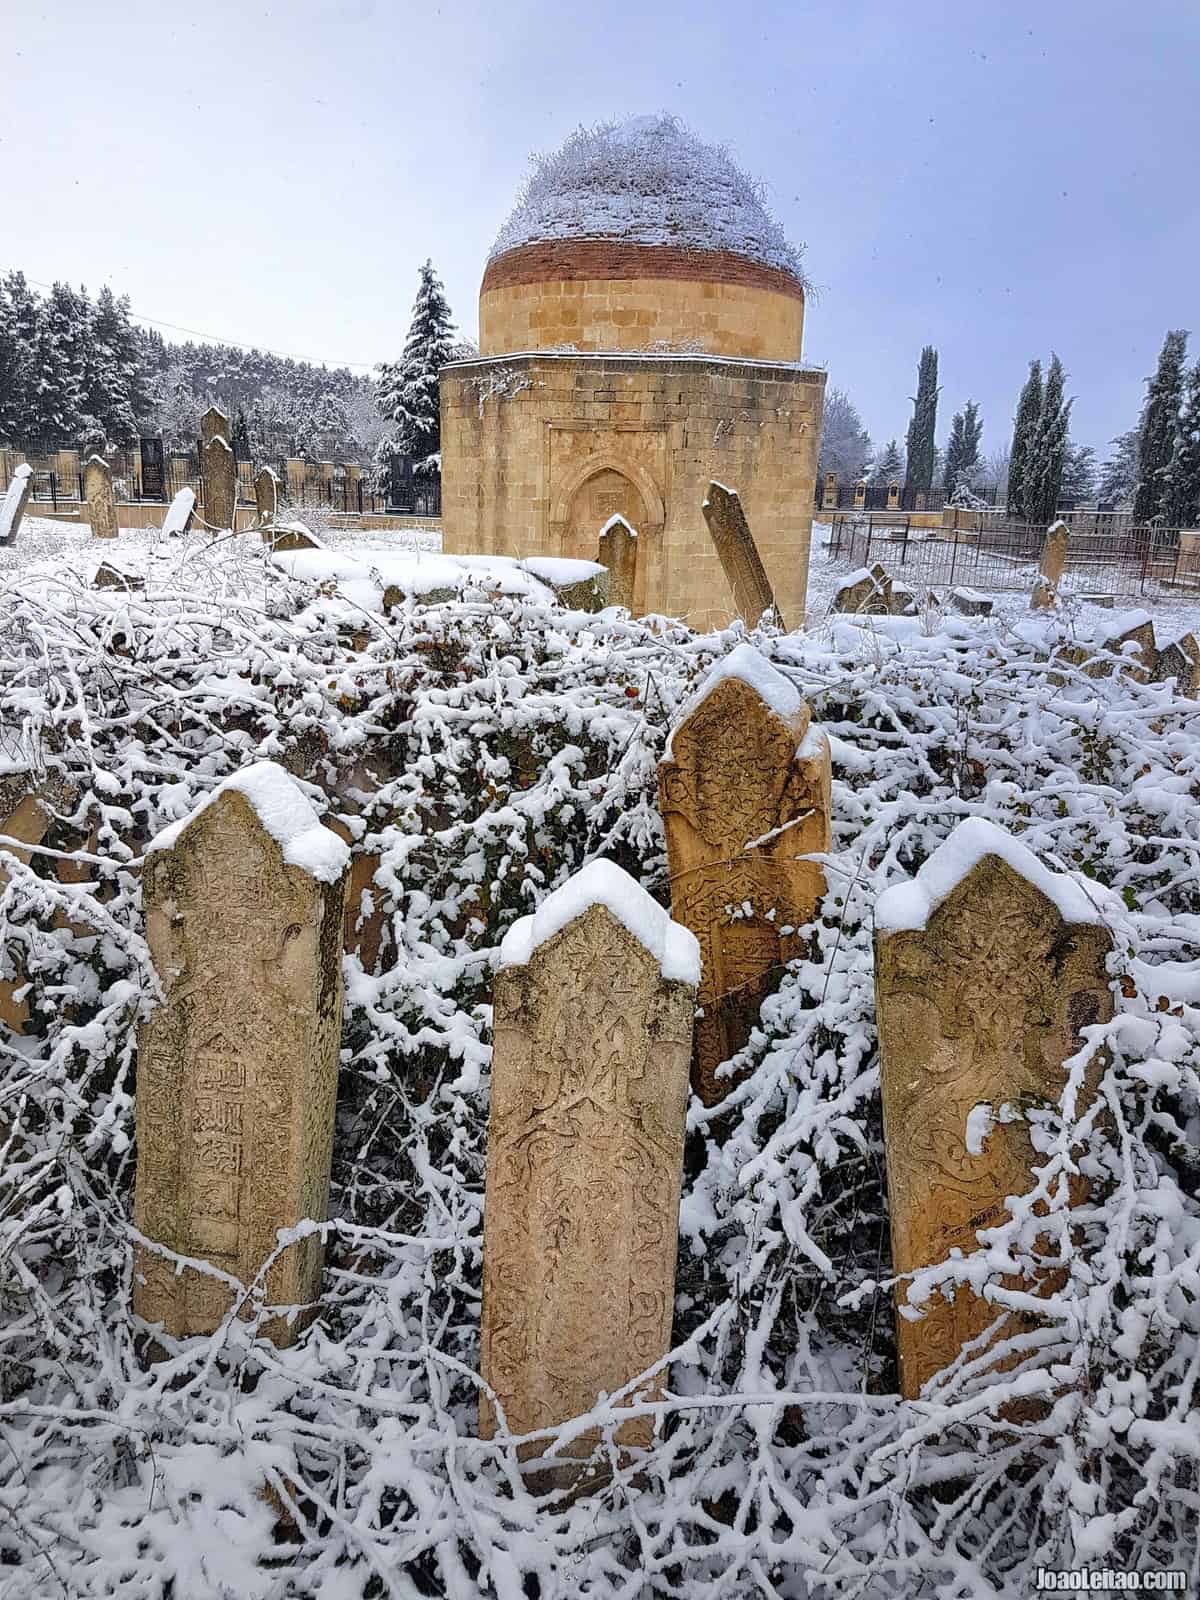
Many people won’t feel comfortable photographing a cemetery, but these places have a lot to give to the photographer. It’s true that the aesthetics of a cemetery depends on local culture and that makes a big difference.
Sometimes they’re authentic art galleries. Some are covered in plants, others are entirely abandoned, and in both cases the pictures are extraordinary. Some cemeteries are legendary like the Jewish Cemetery in Krakow, the Lviv, and the Montparnasse, Pére Lachaise and Montmartre in Paris. They attract so many people that, at some, you have to pay a ticket to visit.
The older ones show History as if you’re looking at a timeline. There are tombstones in different languages that correspond to different periods of occupation. Or there are parts of the same cemetery that are ideologically opposed like in the graveyard of Budapest where on one side we find monuments dedicated to the communists and on the other side you’ll see tombs of Nationalist heroes.
If the traveler is okay with such spaces, he should always research cemeteries beforehand because it might be well worth the visit!
Black and White Photography
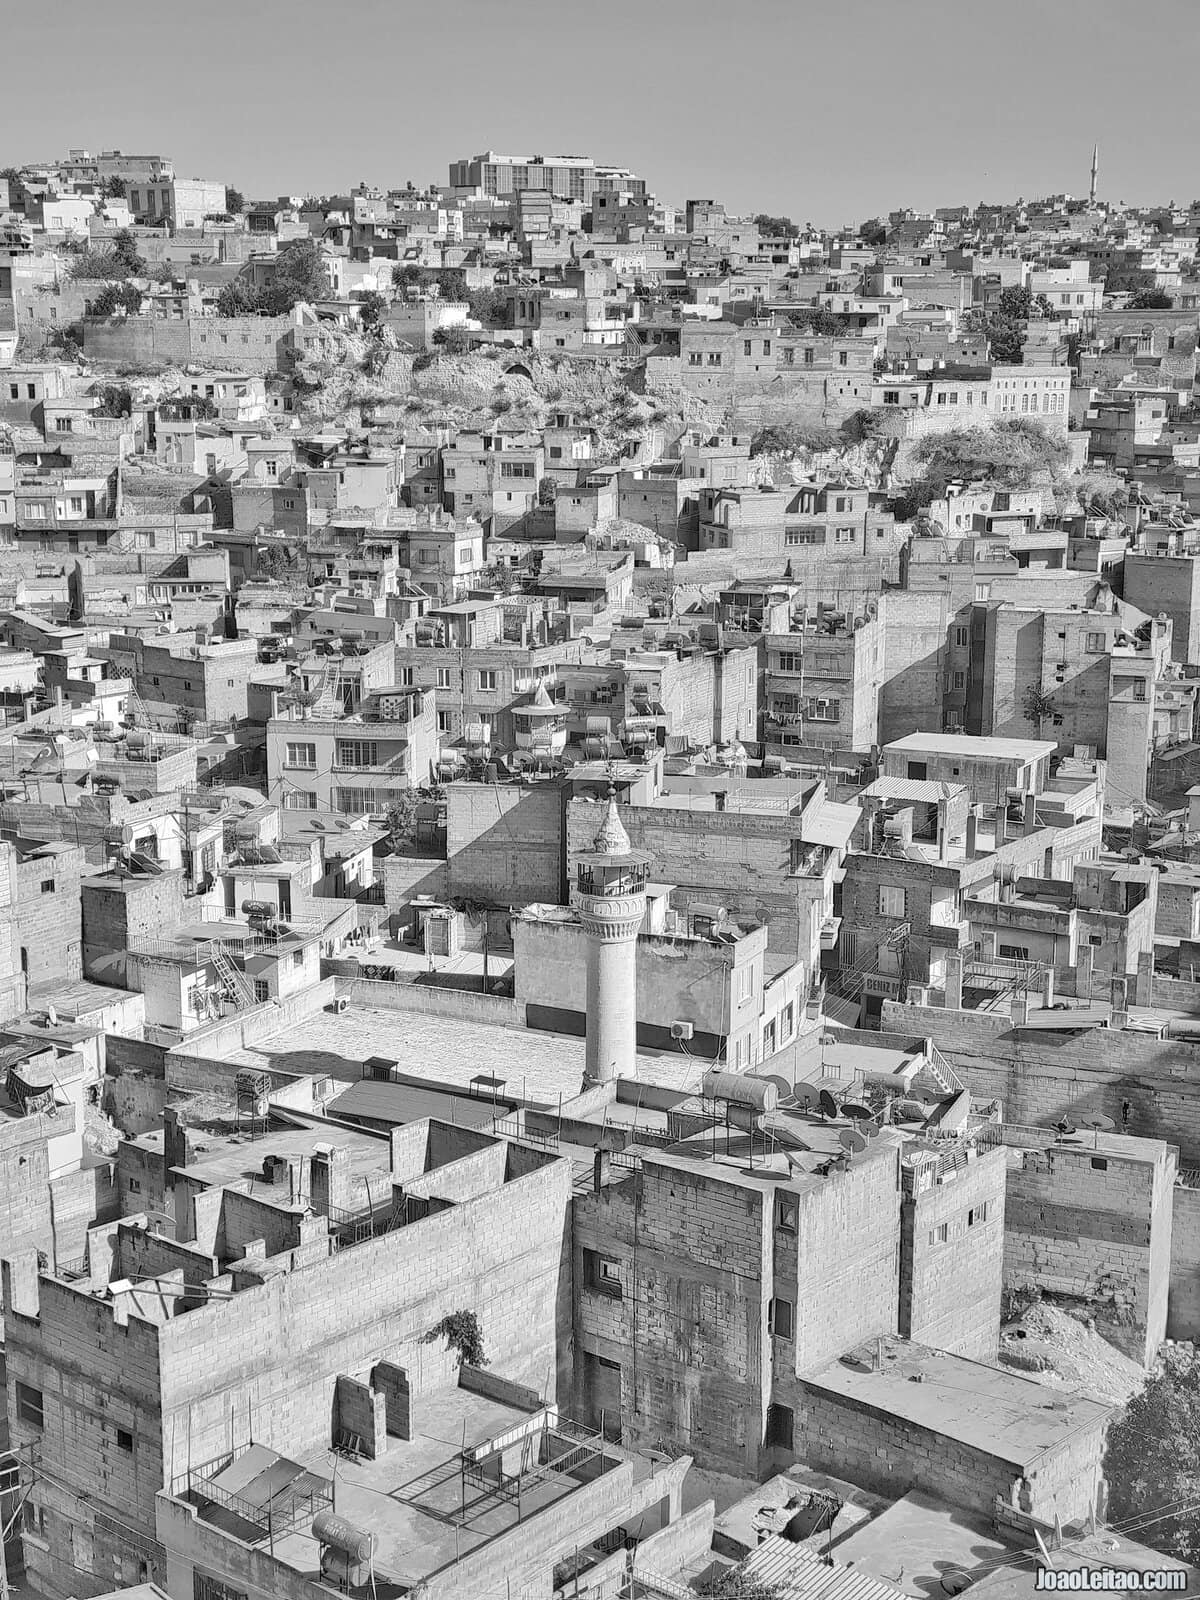
All photography was black and white in the beginning. Then with the arrival of the first color films, it became less frequent. With the dawn of the digital era, it became even rarer.
Black and white photography evolved and adjusted, but it never vanished. It shifted from being the norm to being an option. A way to record a moment from a more artistic perspective, appealing to the photographer’s sensitivity differently.
Black and white is a simplified form of photography, at least at first glance. It may give the impression that you have fewer elements to consider. After all, you don’t need to worry about issues like color temperature or color combinations.
But once you simplify the scene, black and white photography becomes more demanding, an added responsibility to the person behind the camera. Without color, elements like composition or texture become more relevant. The photographer has to work harder to obtain a more appealing picture. In addition to this, the mistakes are more difficult to correct, and the imperfections are more visible.
Present-day traveler never has to pose the question “am I shooting in color or in black and white today?” Fortunately, digital photography has simplified the logistics of this art form. Gone are the days when you had to choose the right film previously. At that time, it was either color or black and white. The alternative was to have two cameras, one for each option.
Nowadays, the shift happens in the mind of the photographer, and many times it happens after photographing, at home, when it’s time for image editing. The reason why I say the shift happens mentally it’s because you have to think about the result before you shoot.
In some cameras, you can choose to shoot straight in black and white. On SLRs, that option will only impact what’s pictured. On cameras with an electronic viewfinder, you’ll actually see the world in black and white. If you enjoy shooting in black and white, this is a personal choice. Some say that turning on this feature hinders them because they’ll never be able to recover the color later. But those who use the function say it helps them visualize the end picture and it’s like thinking in black and white.
These are some situations and themes when black and white works exceptionally well:
- When the themes are almost monotone;
- Abandoned places;
- Sad and decadent themes;
- Cemeteries;
- Foggy days or gray skies;
- Night urban photography when the too warm street lights turn what we see in photographs overpowered by orange.
Sharing photos online – Share your work!
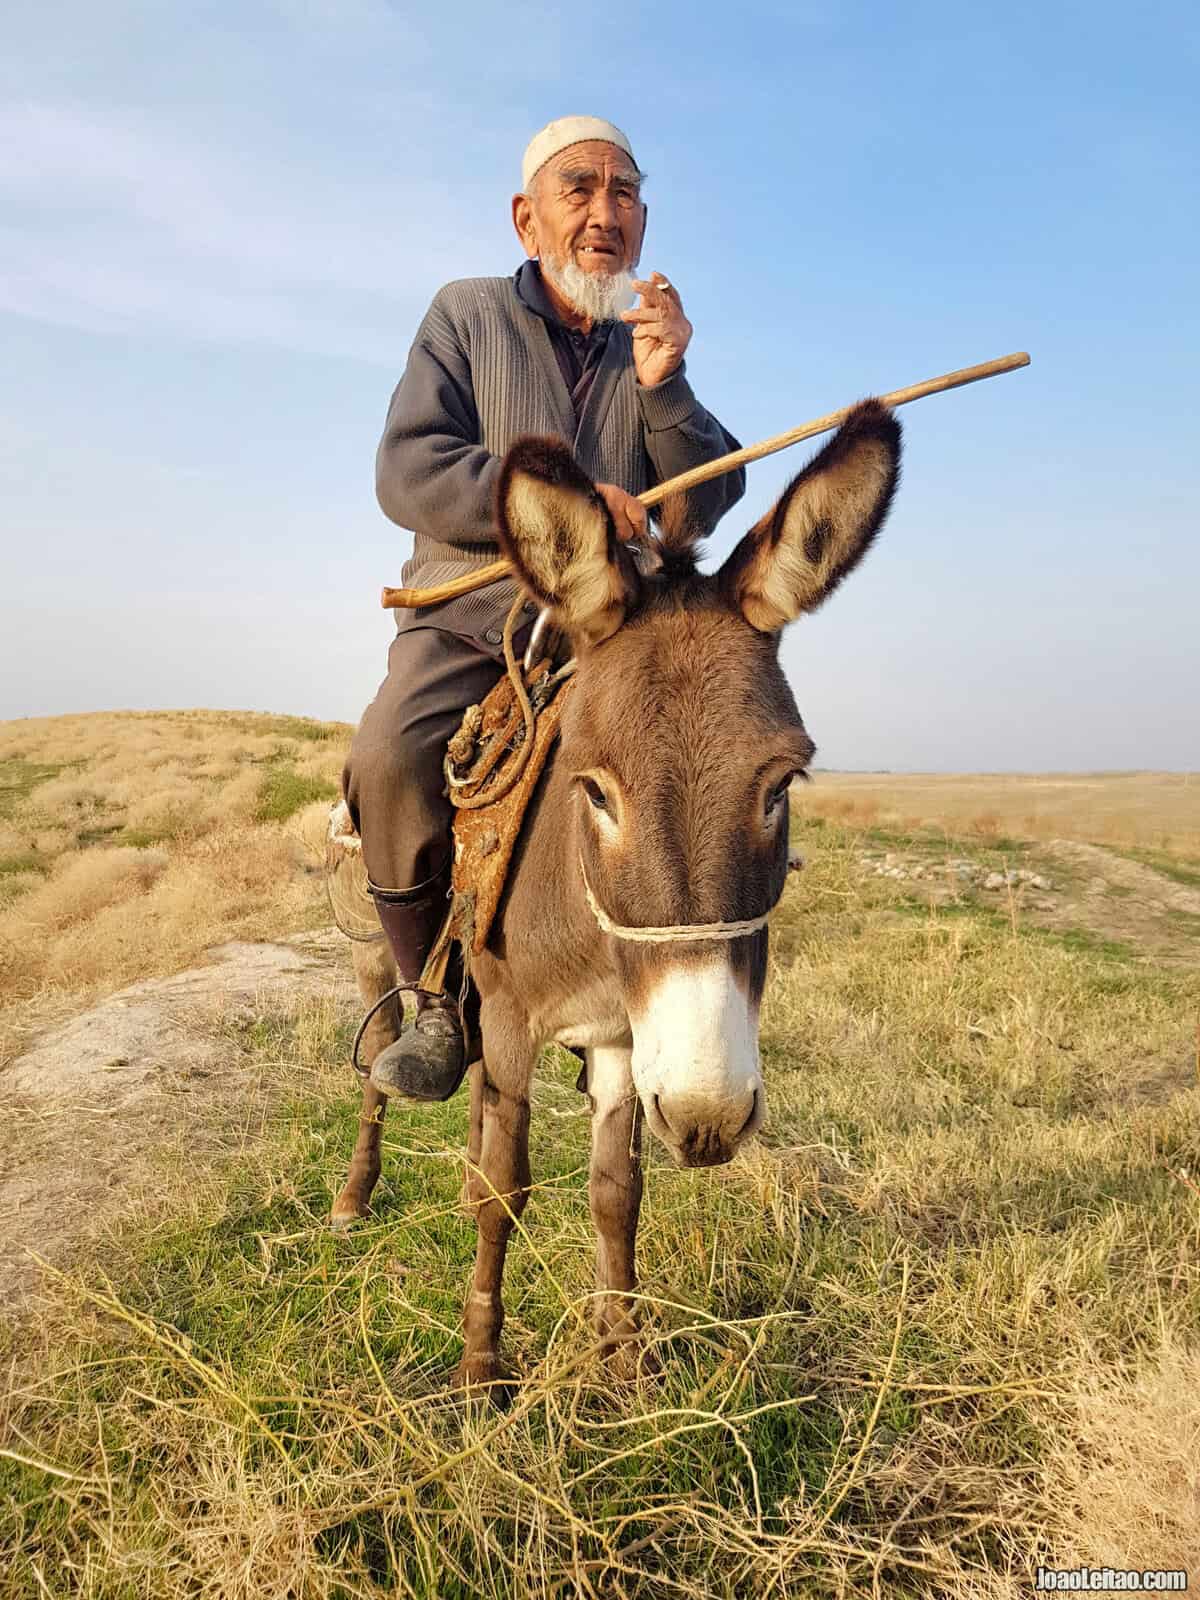
Not a lot of people photograph without the intention of sharing their work. It’s natural to want to show what we’re seeing and experiencing when traveling with friends, family, and the world. Maybe even you will get the attention of national tourism boards that will furthermore contact you. But gone were the days of family get-togethers to show our vacations’ photographs or slides. Today’s life is too busy for that. These days, sharing those moments happens through a computer and especially online.
There are two main ways to share photographs online: on social media and on platforms specially designed to store and show photos. While the big number of users is social media’s upside, when it comes to photography as an art form it isn’t the best option because photos are compressed to use up less space and lose quality. The second option is more private, and we usually have to send or share the link to our galleries or to the specific photo we want to share. On the other hand, they’re designed for photography as an art and come with a set of handy tools.
Everyone knows social media well. On Facebook, that according to some specialists is losing ground to the competition, you can create galleries or simply share photos one at a time. Instagram that started as an instant shot sharing platform has evolved into a general social media network. Their images have a specific square shape which has a clear disadvantage because we’re not used to seeing the world in a square. Twitter, a very fast platform that is ideal to share small shots with the possibility to spread fast.
However, if you want a more specialized and substantial presence, you may prefer a service geared towards storing, showcasing, and managing photos like Flickr, Photobucket, or 500px. All these options allow you to preserve the original quality of the pictures you sent, which doesn’t happen on social media.
Flickr
Flickr was launched in 2004 by Yahoo, and it’s one of the most popular
- Follow me on Joao Leitao Flickr.
500px
500px is an online website for showcasing photographs. It was slightly snobbish in its early days, and you could tell the uploaded photos were above average, quality-wise. It became more inclusive over time and, although you can use it just to see the megastars of photography, it’s now used by people with all sorts of skills and knowledge. Seeing what kind of photos the 500px
- Follow me on Joao Leitao 500px.
Photobucket
Photobucket is a free (with ads) photo-sharing website with up to 2GB space available. There are paid plans between 5 and 35 Euros, depending on how much space the user needs. It has different online photo editing tools and a simple method to print your own photos.
Facebook allows you to quickly share photos on the spot, especially if you have a smartphone with a mobile data plan. If not, every time you connect to the Internet you can upload your photos and create galleries, adjusting your privacy settings. Unlike most people think, you don’t need a Facebook account to view a gallery. You can send a direct link to your photo collection even to people who are not on Facebook. It does have a downside, though, when you upload a photo it’s compressed to save space and lowers the quality.
Instagram was founded in 2010 with a different vision of what it has today. It started as a platform to share spontaneous instant shots. Street shots, unexpected situations, random “just because” shots. It grew so much and so fast that eventually Facebook bought it and it’s now seen as social media, a must-have outlet for companies and professionals. But it’s still a way to share our photos, especially the ones we take with our smartphones. If you don’t shoot with Instagram in mind, the signature square format can be an issue. If you want to share old archived photos, you’ll soon realize that a lot of your best shots once cropped to fit that square shape can’t be used or lose meaning. There is no solution to this. You can upload standard rectangular photos on Instagram, but the users won’t see them unless they click on them. Otherwise, they’ll see them as squares, and they’ll probably miss a lot of essential elements in the original photo.
- Follow me on Nomad Revelations Instagram.
10 Famous Travel Photographers
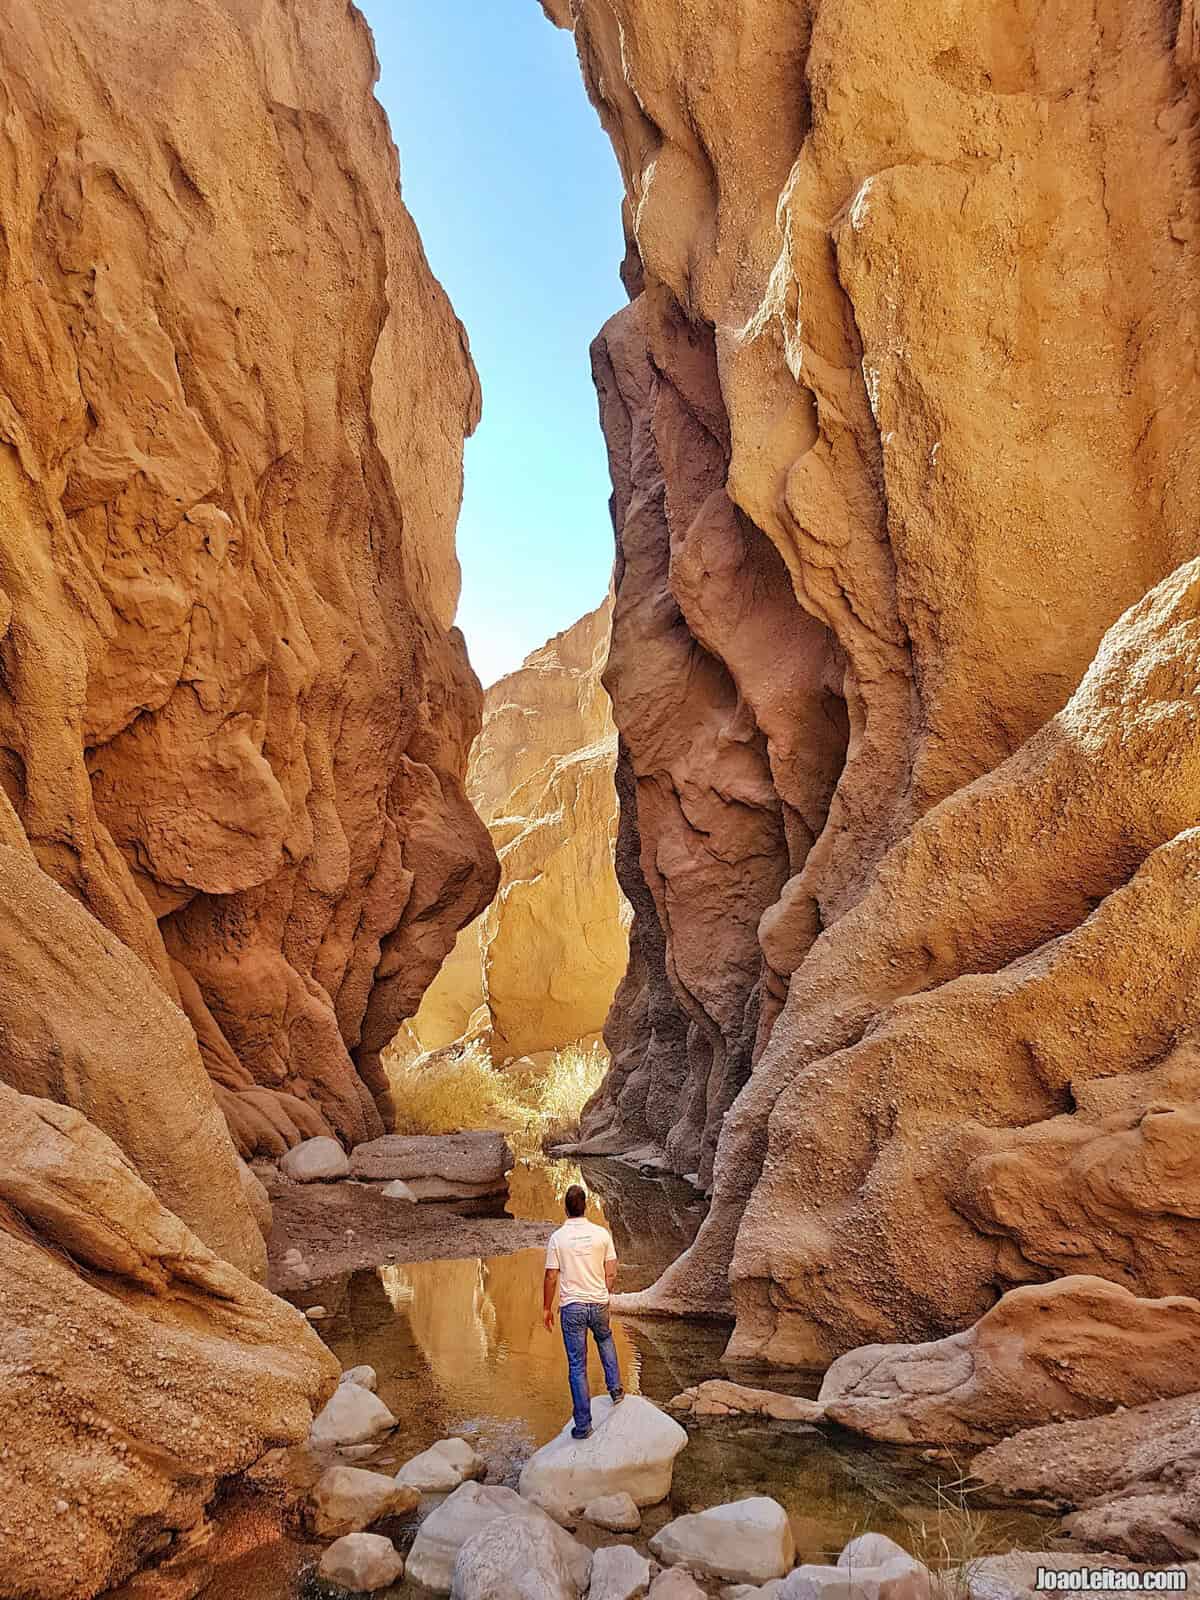
As I’ve mentioned before, one of the best ways to improve your photography is to follow other photographers’ work. And if those photographers are the best of the best, you’ll definitely learn something in addition to the pleasure of seeing great photos, of course.
Therefore, I’m sharing some suggestions with you. These are considered some of the best travel photographers. They’ll probably never be the very best, although most people agree they are very good at what they do. We can say they are, above all, great photographers. Enjoy, watch, learn.
1. Steve McCurry
Born in 1950, this North-American photographer became famous with his shot of the Afghan girl that was the cover of National Geographic Magazine in 1985. McCurry is still active today, and he’s lived and photographed a lot. He covered the Soviet invasion in Afghanistan and a series of other armed conflicts, focusing on the human side of photography. His work has been published in the most prestigious photojournalism magazines in the world. For a few years now, he has annual photo tours and photography workshops to places where he made some of his most famous photos.
- Best place to see the work of Steve McCurry.
2. Sebastião Salgado
One of the big names of travel photography and photojournalism, Brazilian Sebastião Salgado was born in 1944 and traveled with his camera in more than 120 countries. His work, mostly in black and white, is based on personal projects that Sebastião Salgado develops over long periods and that many times end in a book. Some of his greatest hits include “Migrações,” “As Outras Américas,” “Génese,” “Sahel” and “Trabalhadores.” He used to work for the prestigious Magnum but left to start his own Paris-based agency, Imagens Amazonas, with his wife.
- Best place to see the work of Sebastião Salgado.
2. Henri Cartier-Bresson
This French photographer – fine art artist, born in 1908 and died in 2004, worked mostly in the mid 20th century and was one of the first to use 35 mm film. He had an adventurous life, fought in World War II, lived in Africa, covered events like Gandhi’s funeral and the Civil War in China, and was published many times by the prestigious Magnum magazine.
- Best place to see the work of Henri Cartier-Bresson.
3. John Stanmeyer
John Stanmeyer was born in the United States in 1964 and has a very successful career as a photographer. He started working at the Tampa Tribune, a newspaper in Florida, with assignments in Africa, Europe, and Asia. Those travels prompted him to start a career as a freelancer, covering political events and human rights issues in the Middle East and Asia. His work has been published on Time and National Geographic Magazine. In 2013 he won the World Press Photo award for a photo of refugees in Djibouti.
- Best place to see the work of John Stanmeyer.
4. Mattia Passarini
Italian photographer based in China since 2006, specializing in portrait photography of people in remote communities. His work is the result of bold trips in distant regions in countries like Papua New Guinea, Myanmar, Congo, China, or India.
- Best place to see the work of Mattia Passarini.
5. GMB Akash
GMB Akash was born in 1977 in Dhaka, the capital city of Bangladesh, and works as a professional photographer. His work has been published in the United Kingdom, on The Guardian and Sunday Telegraph, and in 2009 he won The Guardian’s prestigious award Travel Photographer of the Year for his work while traveling by train in Bangladesh.
- Best place to see the work of GMB Akash.
6. Johnny Haglund
Norwegian photographer born in 1965, originally trained as an engineer and a professional photographer since 1988. He was first published in 1994, had selected works showing at the prestigious World Press Photo exhibition, and has published five travel photography books so far. His works include travels in Russia’s harsh winter, Nepal, Africa, the streets of Indian cities, and others.
- Best place to see the work of Johnny Haglund.
7. Ami Vitale
North-American Ami Vitale was born in 1971 and is currently based in Montana, USA. She’s one of the National Geographic Magazine’s photographers. She’s traveled to more than 90 countries, with a particular focus on sensitive topics like armed conflicts and social tensions but also, as she likes to point out, on the beauty of our planet. Her work has made her aware of environmental issues e of the problems women face in developing countries.
- Best place to see the work of Ami Vitale.
8. Lorne Resnick
Canadian photographer born in Toronto in 1961 and currently based in Los Angeles. A trip to Africa inspired him to start a very productive career as a photographer. Since then, he’s photographed remote areas like Papua New Guinea and Greenland, but he’s best known for his photos of Cuba.
- Best place to see the work of Lorne Resnick.
9. Justin Mott
This North-American photographer is based in Vietnam. His current location leaves no doubt as to which area of the world he photographs more but he’s photographed a little all over the world. His photography is highly creative, and he looks for new angles to old themes.
- Best place to see the work of Justin Mott.
50 Famous Places to Photograph
- Angkor Temples, Cambodia
- Machu Picchu, Peru
- Namib Desert, Namibia
- Venice, Italy
- Trinidad, Cuba
- Ait Benhaddou, Morocco
- Uyuni Salt Flats, Bolivia
- Hoi An, Vietnam
- Santorini, Greece
- Meteora, Greece
- Sintra, Portugal
- Bagan, Myanmar
- Tuscan Fields, Italy
- Mercado de Chichicastenango, Guatemala
- Petra, Jordan
- Bagan, Myanmar
- Cinque Terre, Italy
- Paris, France
- Fez, Morocco
- Koyasan, Japan
- Lanzarote, Canary Islands, Spain
- Torres del Paine National Park, Chile
- Antigua, Guatemala
- Grand Canyon, USA
- Keukenhof Park, Holland
- Plitvice National Park, Croatia
- Marina Bay, Singapore
- Mount Fuji, Japan
- Lake Bled, Slovenia
- Bhutan Temples, Bhutan
- Istanbul, Turkey
- Chefchaouen, Morocco
- Sapa, Vietnam
- Mardin, Turkey
- Cartagena, Colombia
- Sahara Desert, Morocco
- Halong Bay, Vietnam
- Iguaçu Waterfalls, Brazil, Paraguay
- Li River, China
- Plitvice Lakes, Croatia
- Parque Nacional de Yosemite, USA
- Moraine Lake, Canada
- Bora Bora, French Polynesia
- Tianzi Mountains, China
- Serengeti National Park, Tanzania
- Cappadocia, Turkey
- Ilhas de Fernando de Noronha, Brazil
- Pamukkale, Turkey
- Isle of Skye, United Kingdom
- Lisboa, Portugal

